


Table of Contents » Appendices : Git & GitHub
Appendix E
Page Contents
Git is a technology for tracking changes to sets of files. The set of files to be tracked are stored in a directory (folder) which is called a repository in Git terms. Repositories can contain any kind of file and subdirectories (subfolders). Git repositories can be on your local computer only or stored on remote computers or servers. Repositories are often stored on remove locations for the purposes of collaboration.
The following slide deck provides a high-level oveview of how Git works:
A common misunderstanding about Git technology is that Git is the same thing as Github -- This is not true. Git is a change tracking technology and Github is a Internet hosting company that specializes in hosting remote Git repositories. There are numerous Internet hosting companies (Github competitors) that provide Git repository hosting services. It just so happens that Github is (currently) the most popular and widely-known hosting provider for repositories. The fact that Github called themselves Github causes people to believe that Git and Github are the same, or that Github provides the Git technology, which is also not true.
When you want to use Git you download and install the Git software on your computer. The Git software is open-source, so it is free to use. Once it is installed, you use it locally to create repositories in which you store files. As you work on those files Git tracks all of the changes to those files and maintains the repositories.
Let's take a look at an example of using Git & GitHub for a programming project. For this example, we'll say it is a student in a programming class who will use Git & GitHub to work on a project and will turn in that project to the professor via GitHub.
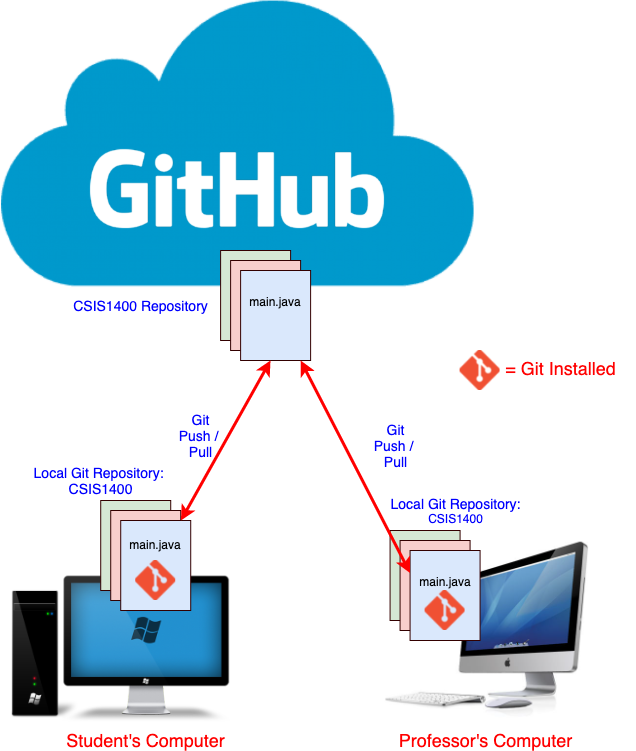
Note the following about the above diagram:
- First step for the student would be to create a repository on GitHub for her project.
- Next, she sends an invitation through GitHub to her professor for him to be a collaborator of her repository. This gives the professor access to her repository and the files it contains.
- Next, she uses the Git clone command to clone the GitHub repository to her own computer, which creates a local repository for the project.
- Then she opens the local repository in her IDE (Eclipse or IntelliJ or other IDE).
- As she works on the project over time she commits her changes to the local repository and uses the Git push command to push those changes to her GitHub repository.
- When she's confident in her work, she can notify her professor that her project is complete.
- The professor can then connect to GitHub and either clone her project to his computer or review the project files through the GitHub web interface.
As another example, I'll show you how I used Git and GitHub as the change tracking tools for the website (johngordon.io). Review the following diagram that provides a high-level visual representation of my workflow for developing this website and then read the explanation below:
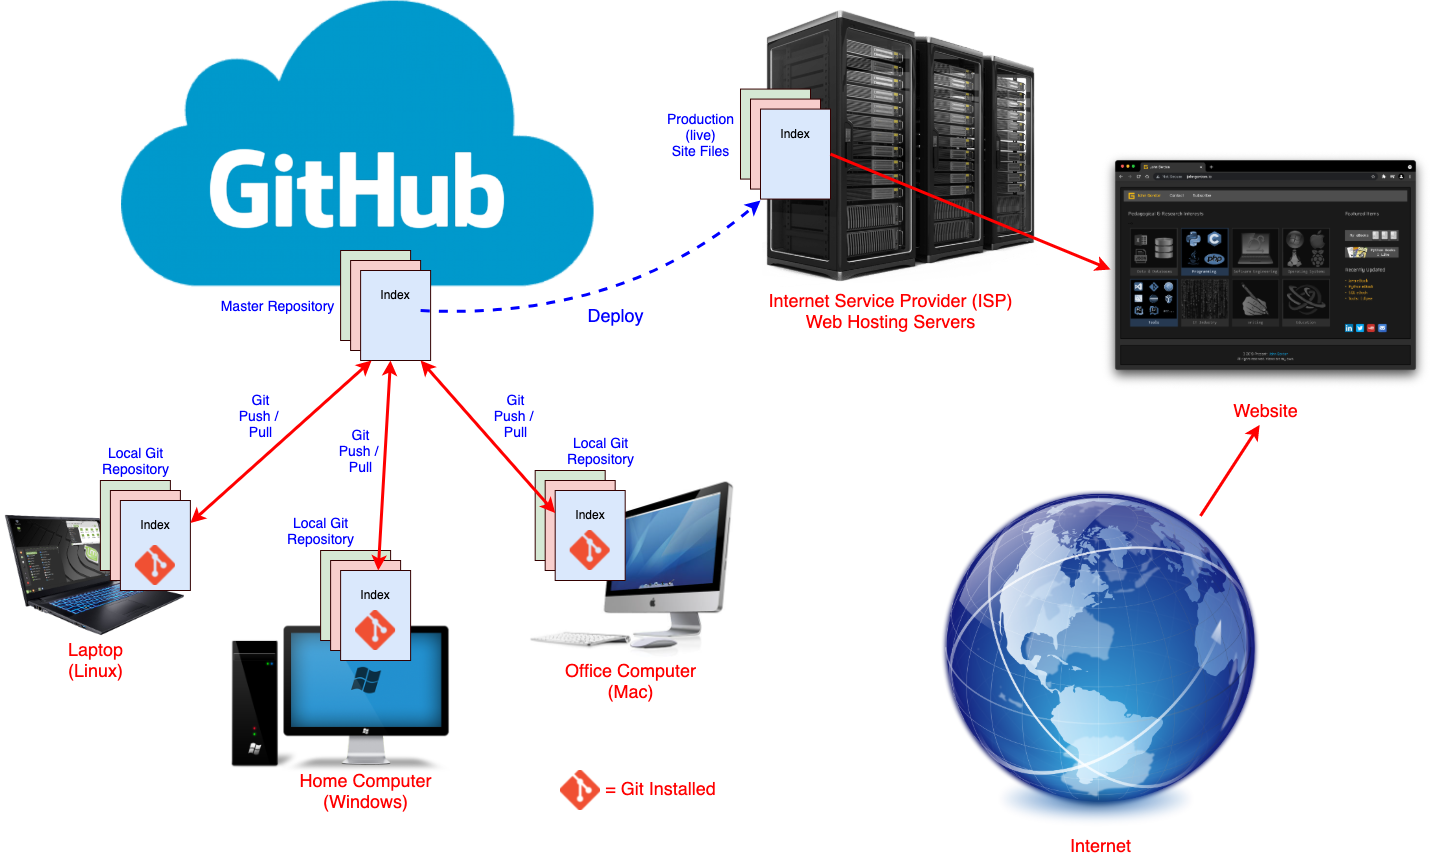
Note the following about the above diagram:
- I work on this website at various times and at various locations, my home, my work office and sometimes on my laptop in various locations (at Starbucks, at one of the college campuses, in front of the television, out on my back deck, etc.).
- I use different computers depending on where I am at any given time.
- My laptop is setup with the Linux operating system.
- My home computer is setup with the Windows operating system.
- My office computer is a Mac.
- Git is cross-platform and is installed on all three of those computers.
- On GitHub I store the master repository of my website files, which contains the most up-to-date files for the project.
- On each computer, I have a local Git repository containing a clone of the master website repository.
- Depending on where I am at any given time, when I want to work on the site, I use the Git Pull command updates my local repository with the master repository files on GitHub.
- Let's say for example I'm at my work office, using the Mac computer.
- After I have made the changes to files as needed, I save those changes which saves them in the Local Git Repository.
- I then commit those changes and push those changes to GitHub. That push updates the master repository with the changes I just made.
- The repository on GitHub does not automatically update the public website. I have set it up this way intentionally. I use GitHub as my central repository and I often have to work on site updates for several hours or days before I am ready to make my changes live on the website.
- Let's say the next day I want to work on my website but I'm at home. The changes I made the day before were done on my work computer. But that's ok, because that version of the site files are on GitHub. So, I just need to use the Git pull command again (just like I did at my office the day before) and then my home computer's local repository will have the most up-to-date files.
- I can make any additions or updates I want to to the files locally. When I'm finished I save the files locally.
- Then, I use the Git commit and push commands which push those changes to GitHub. Again, this keeps my GitHub repository up-to-date.
- When I have made all of the changes I need and want to update the live website, I need to publish those changes to my Internet Service Provider's (ISP) Web Hosting Server.
- My particular ISP account does not support using Git on the web hosting server, so I upload files from my repository to my hosting account directly.
- Once those files have been published anyone on the Internet can see the new content on the website.
There are many ways to accomplish all of these steps, this just happens to be how I work with this website currently. The important part of this is to understand how using Git & GitHub allow me to work from any location on any computer without having to worry about which computer has the most up-to-date files for the site.
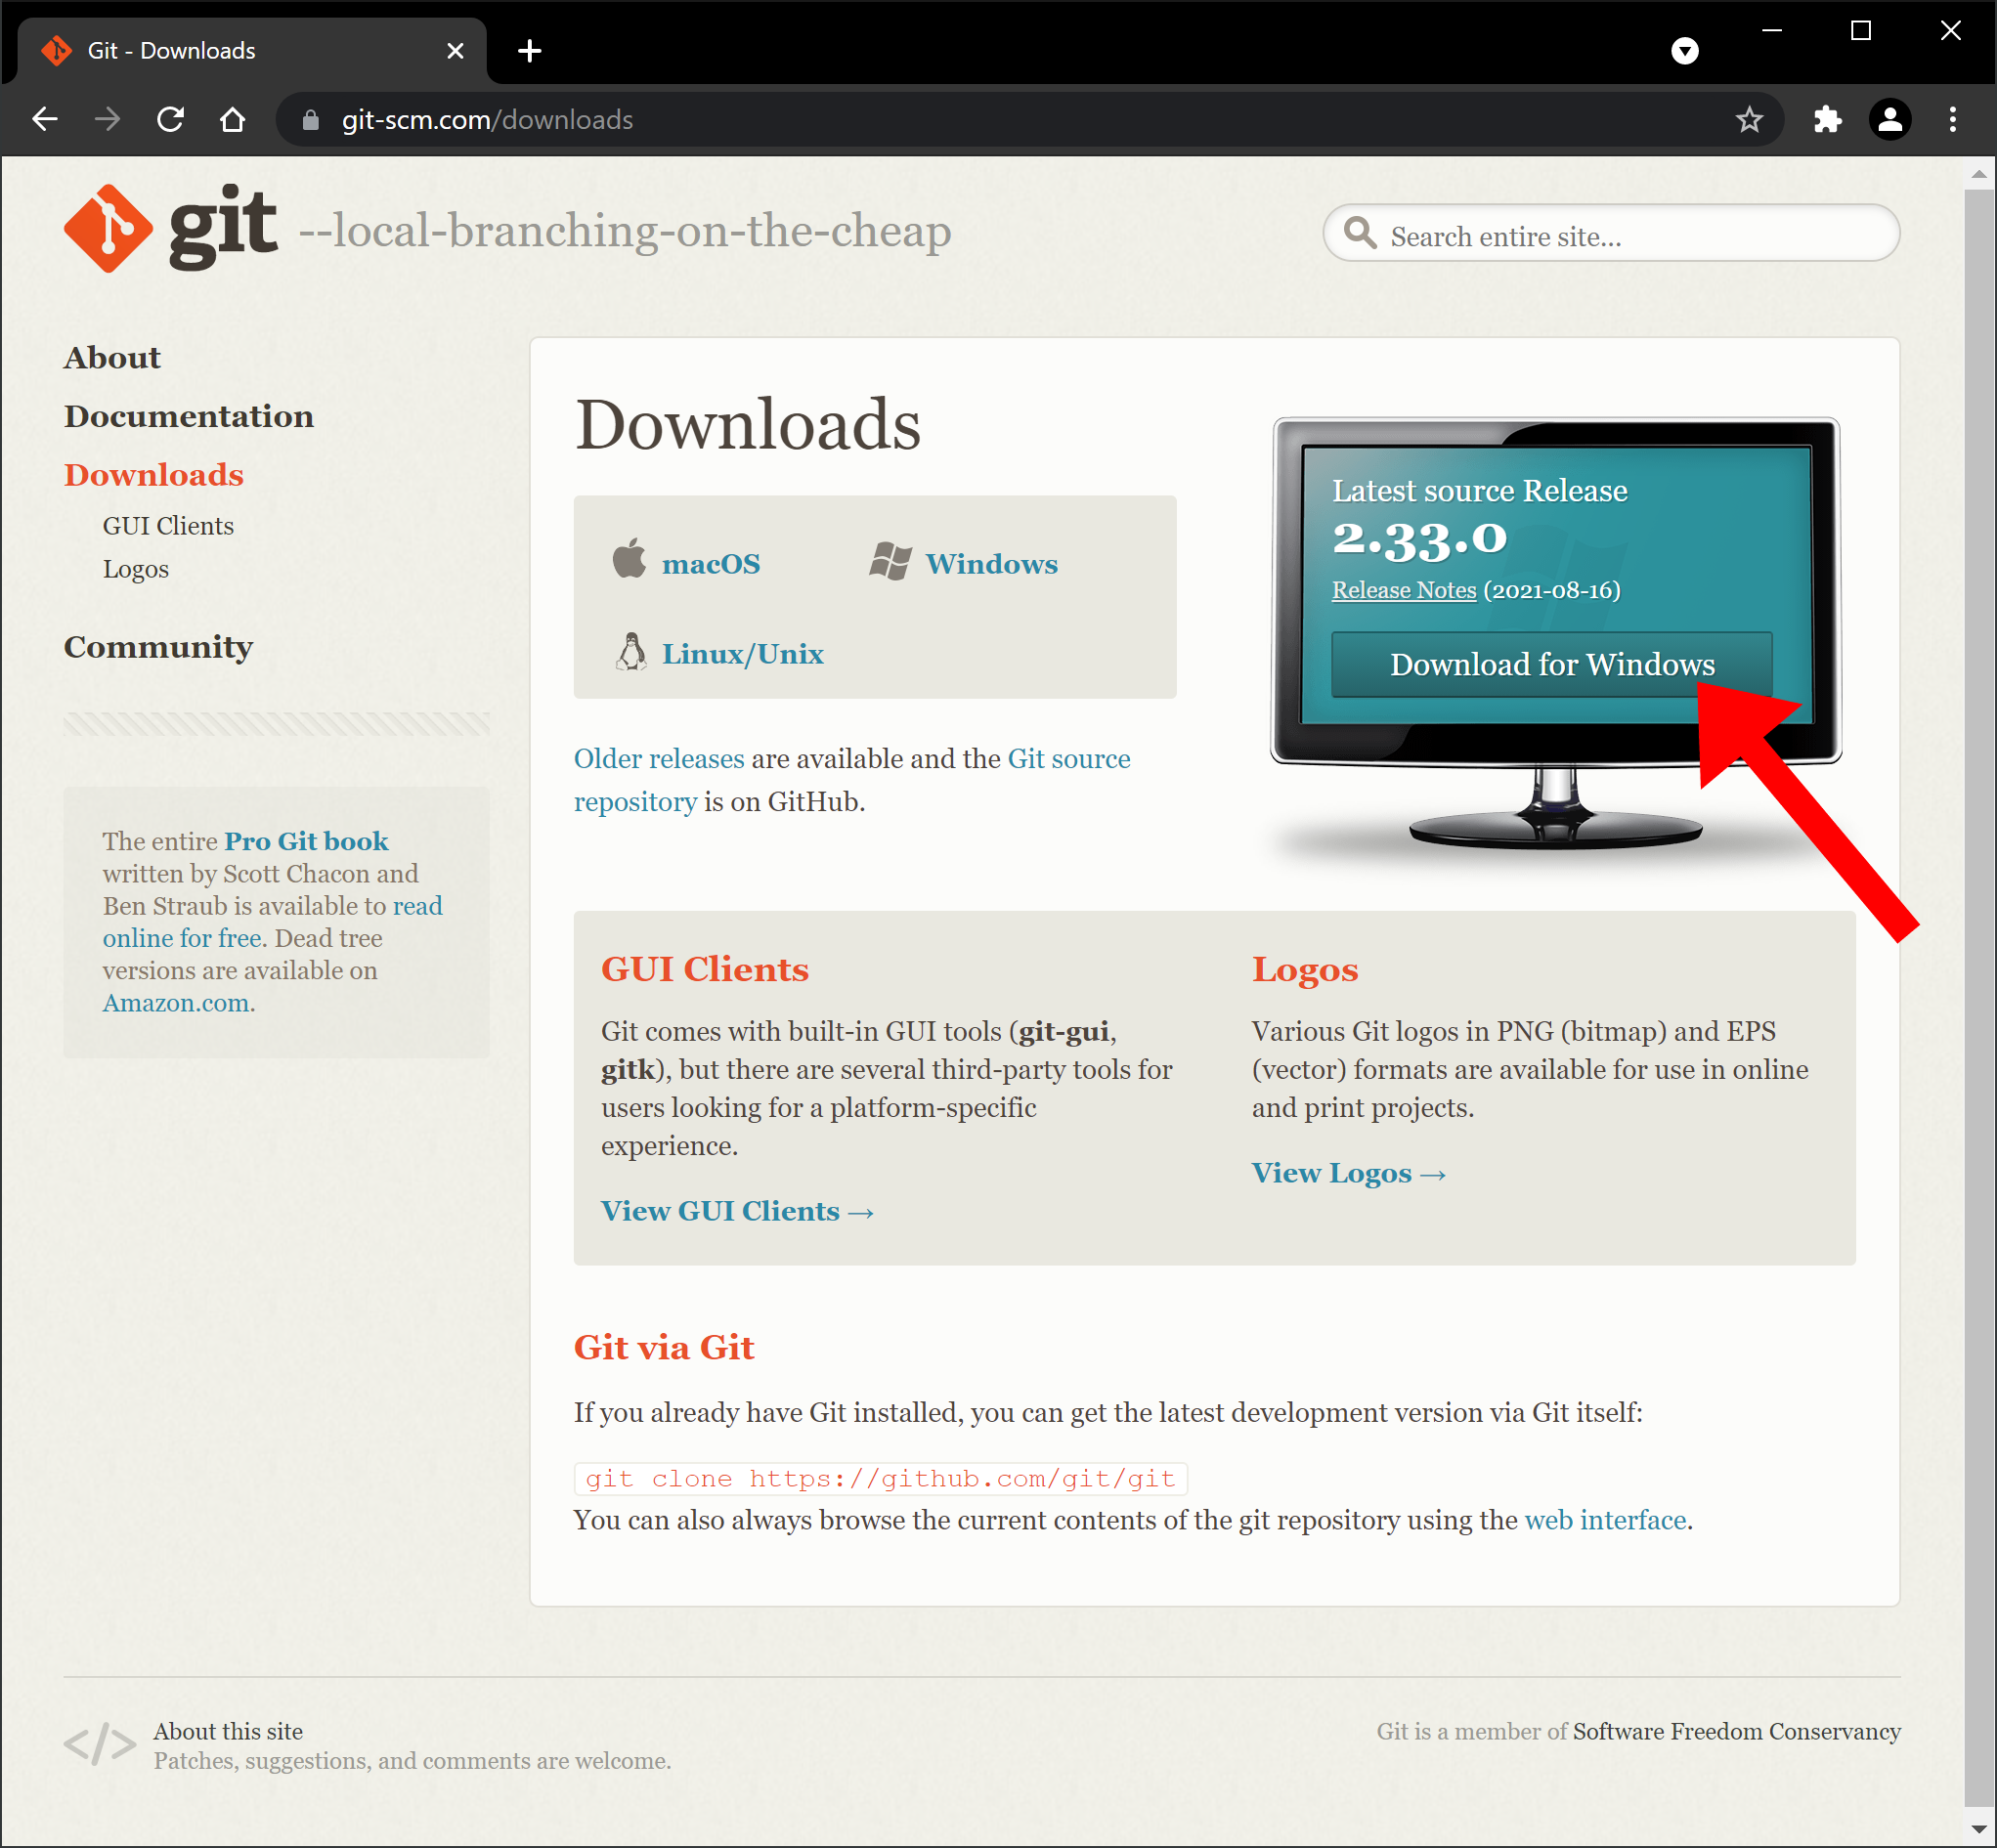
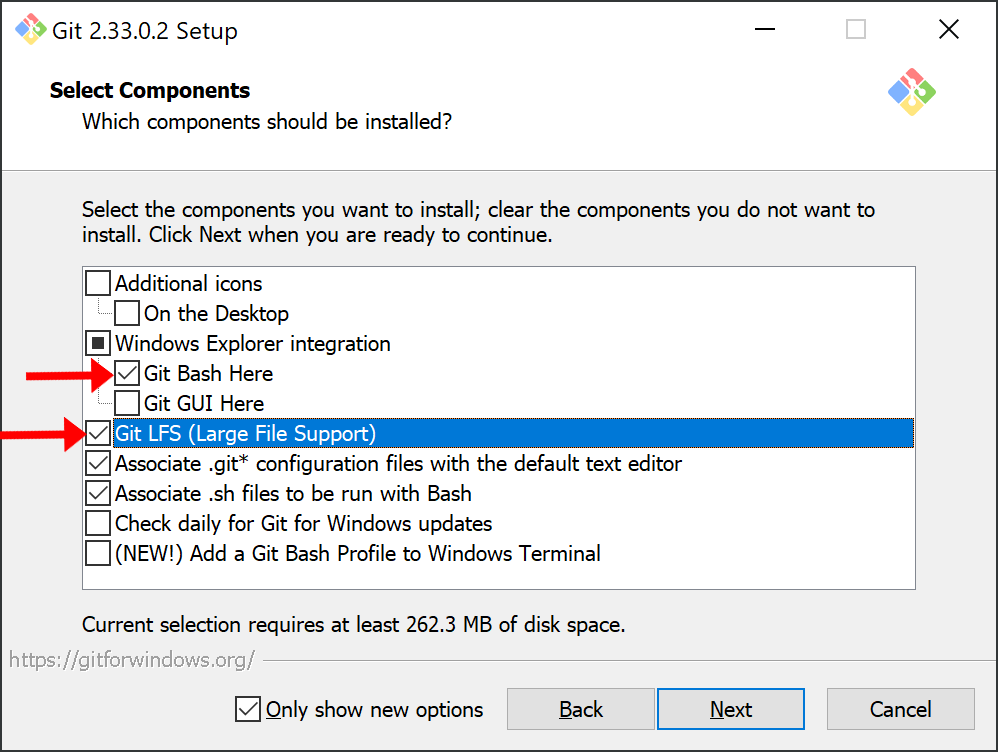
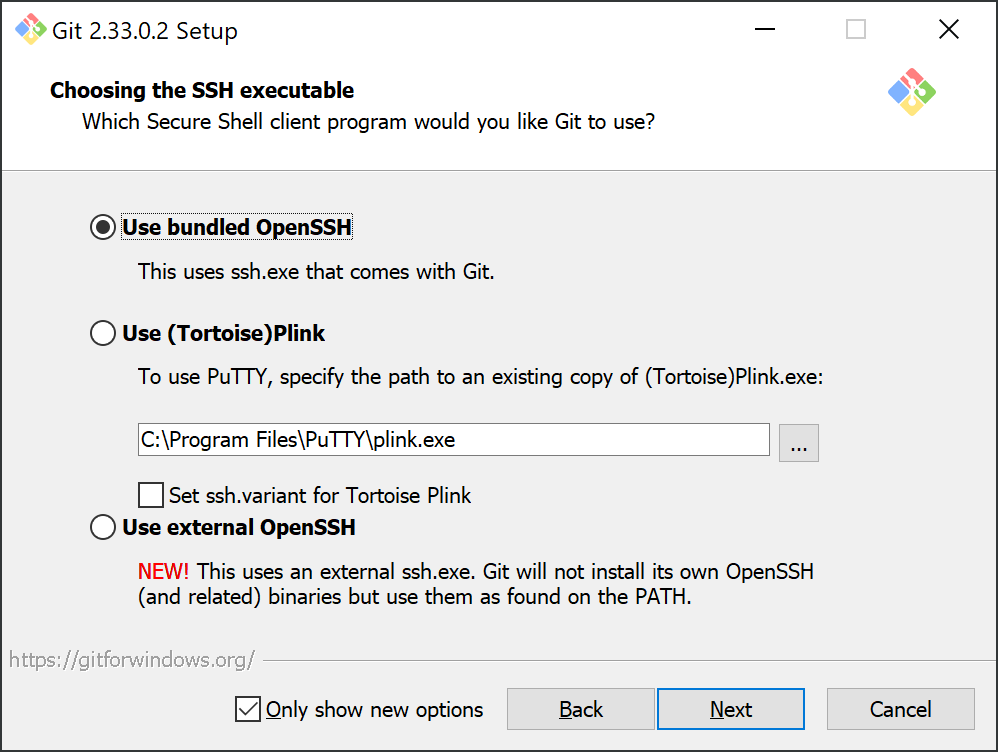
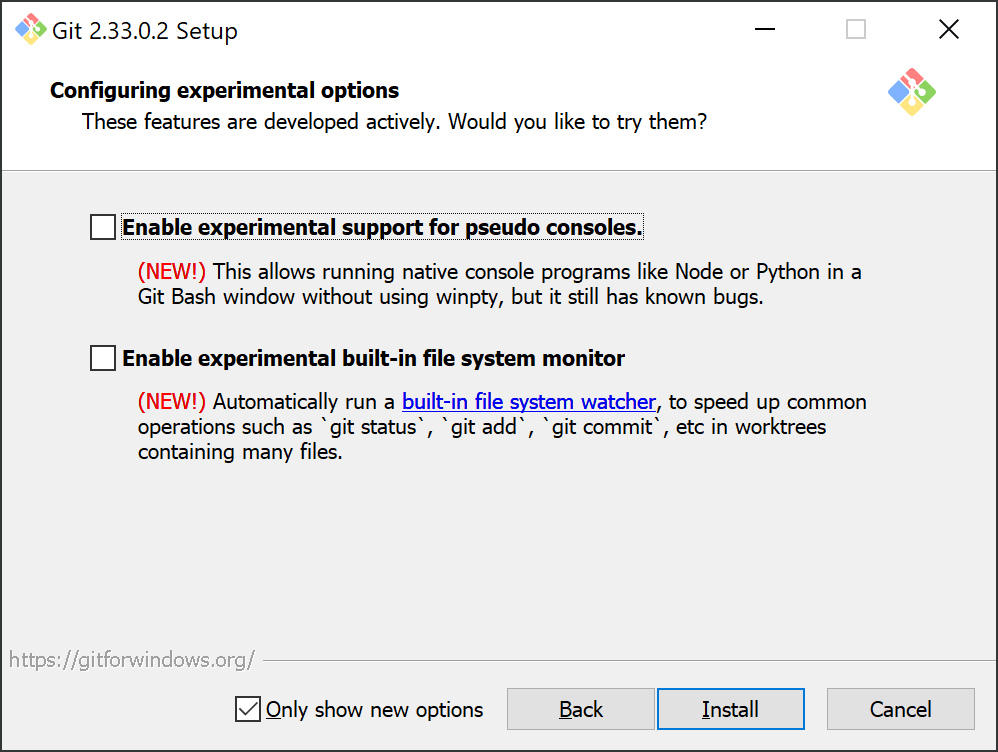
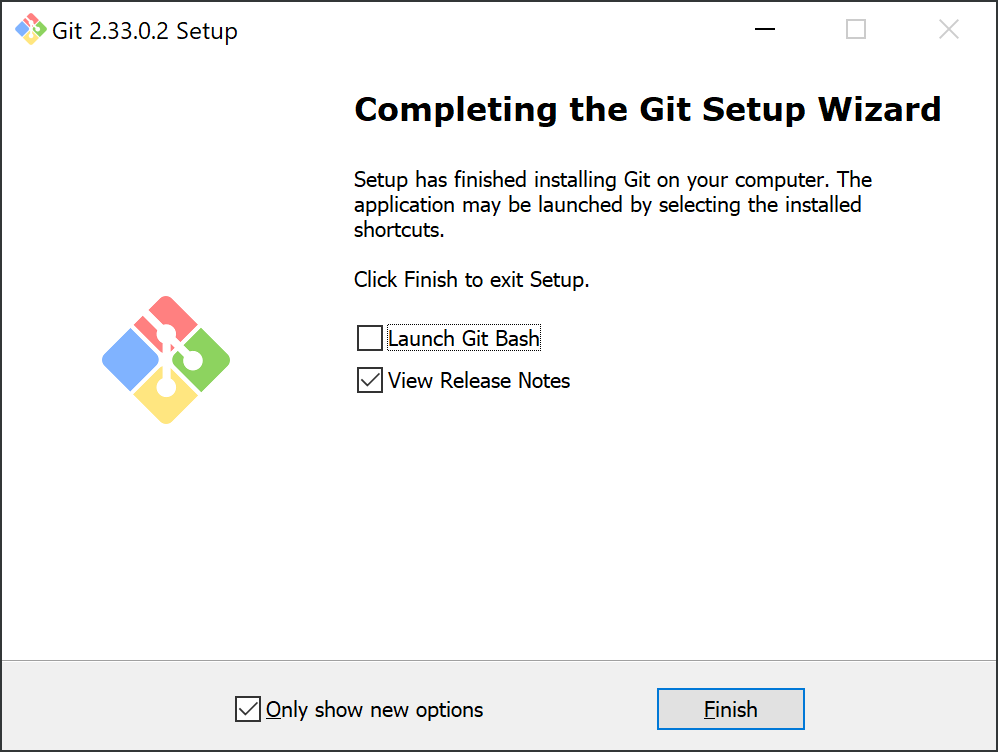
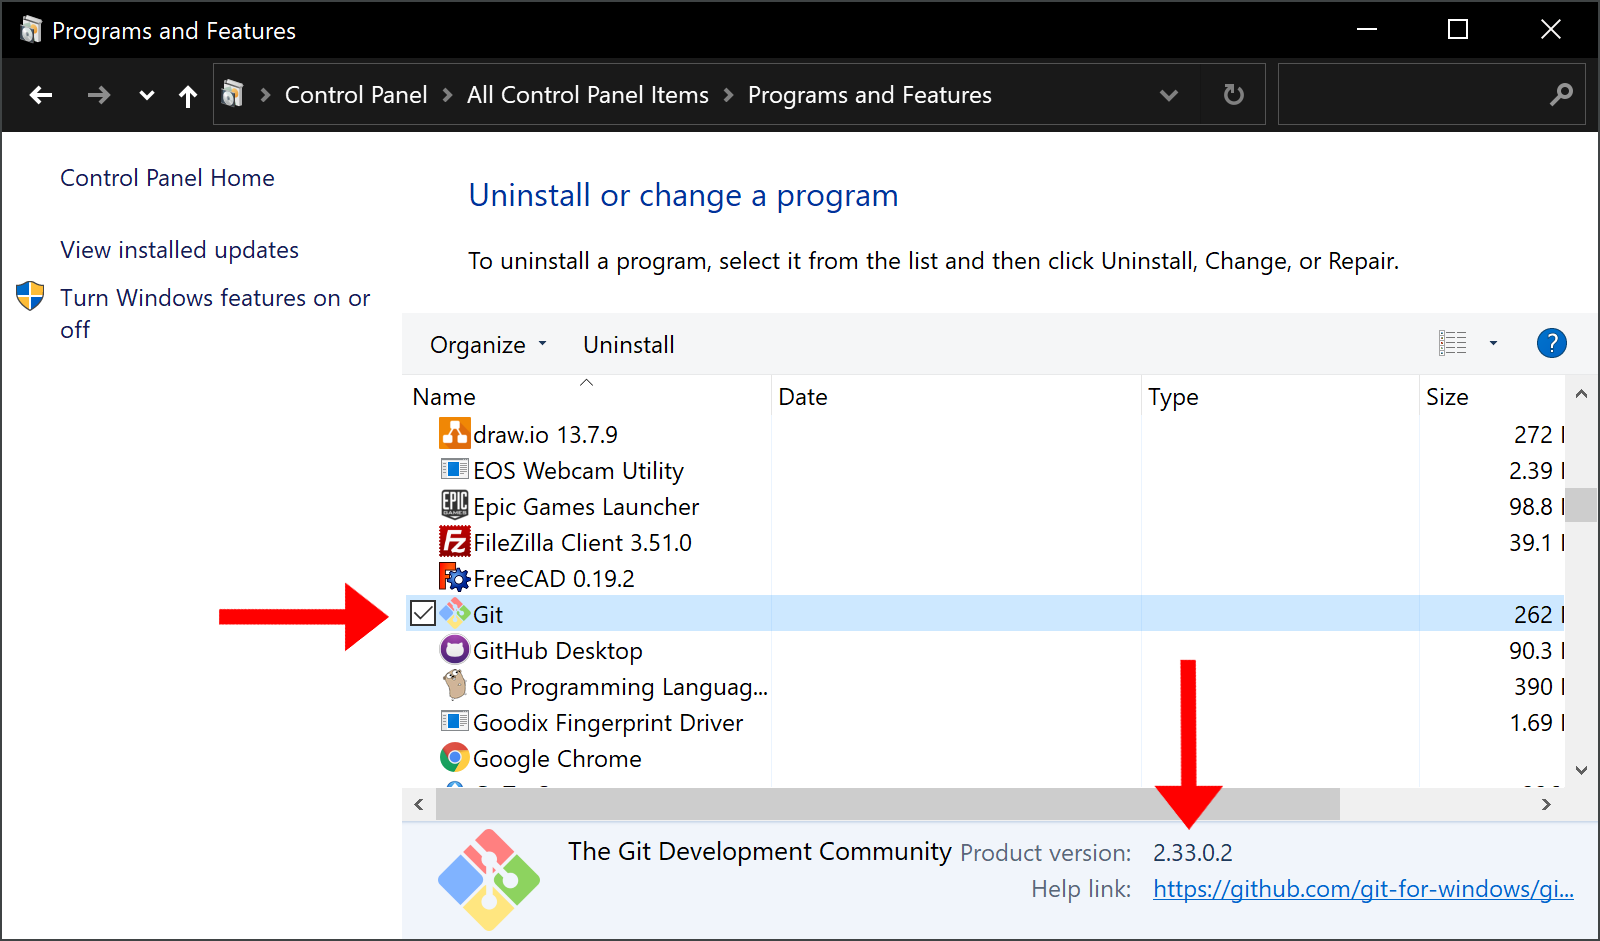
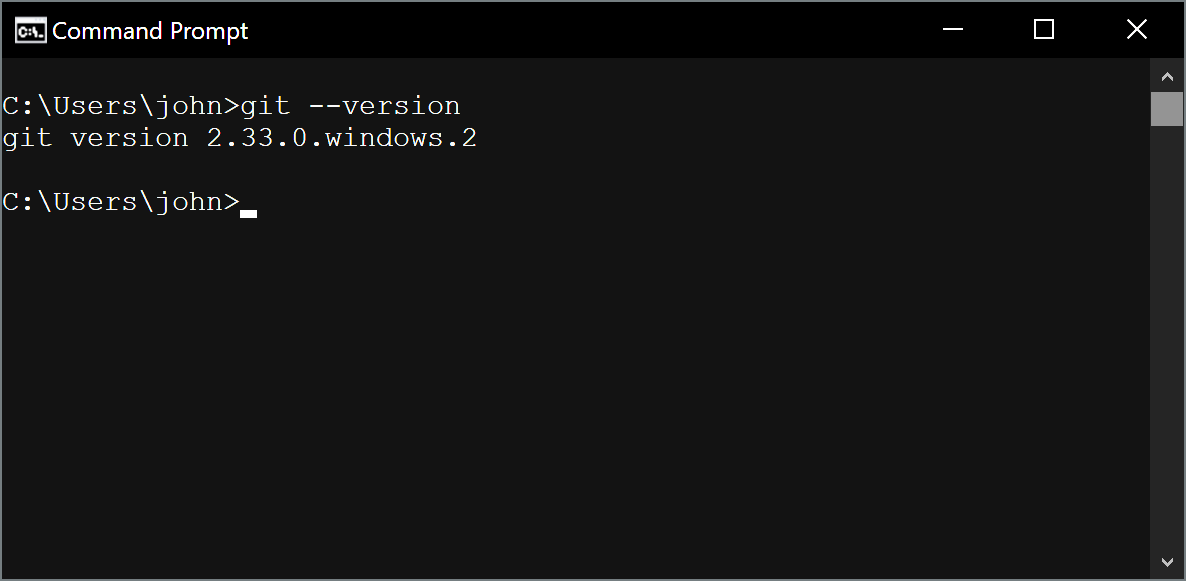
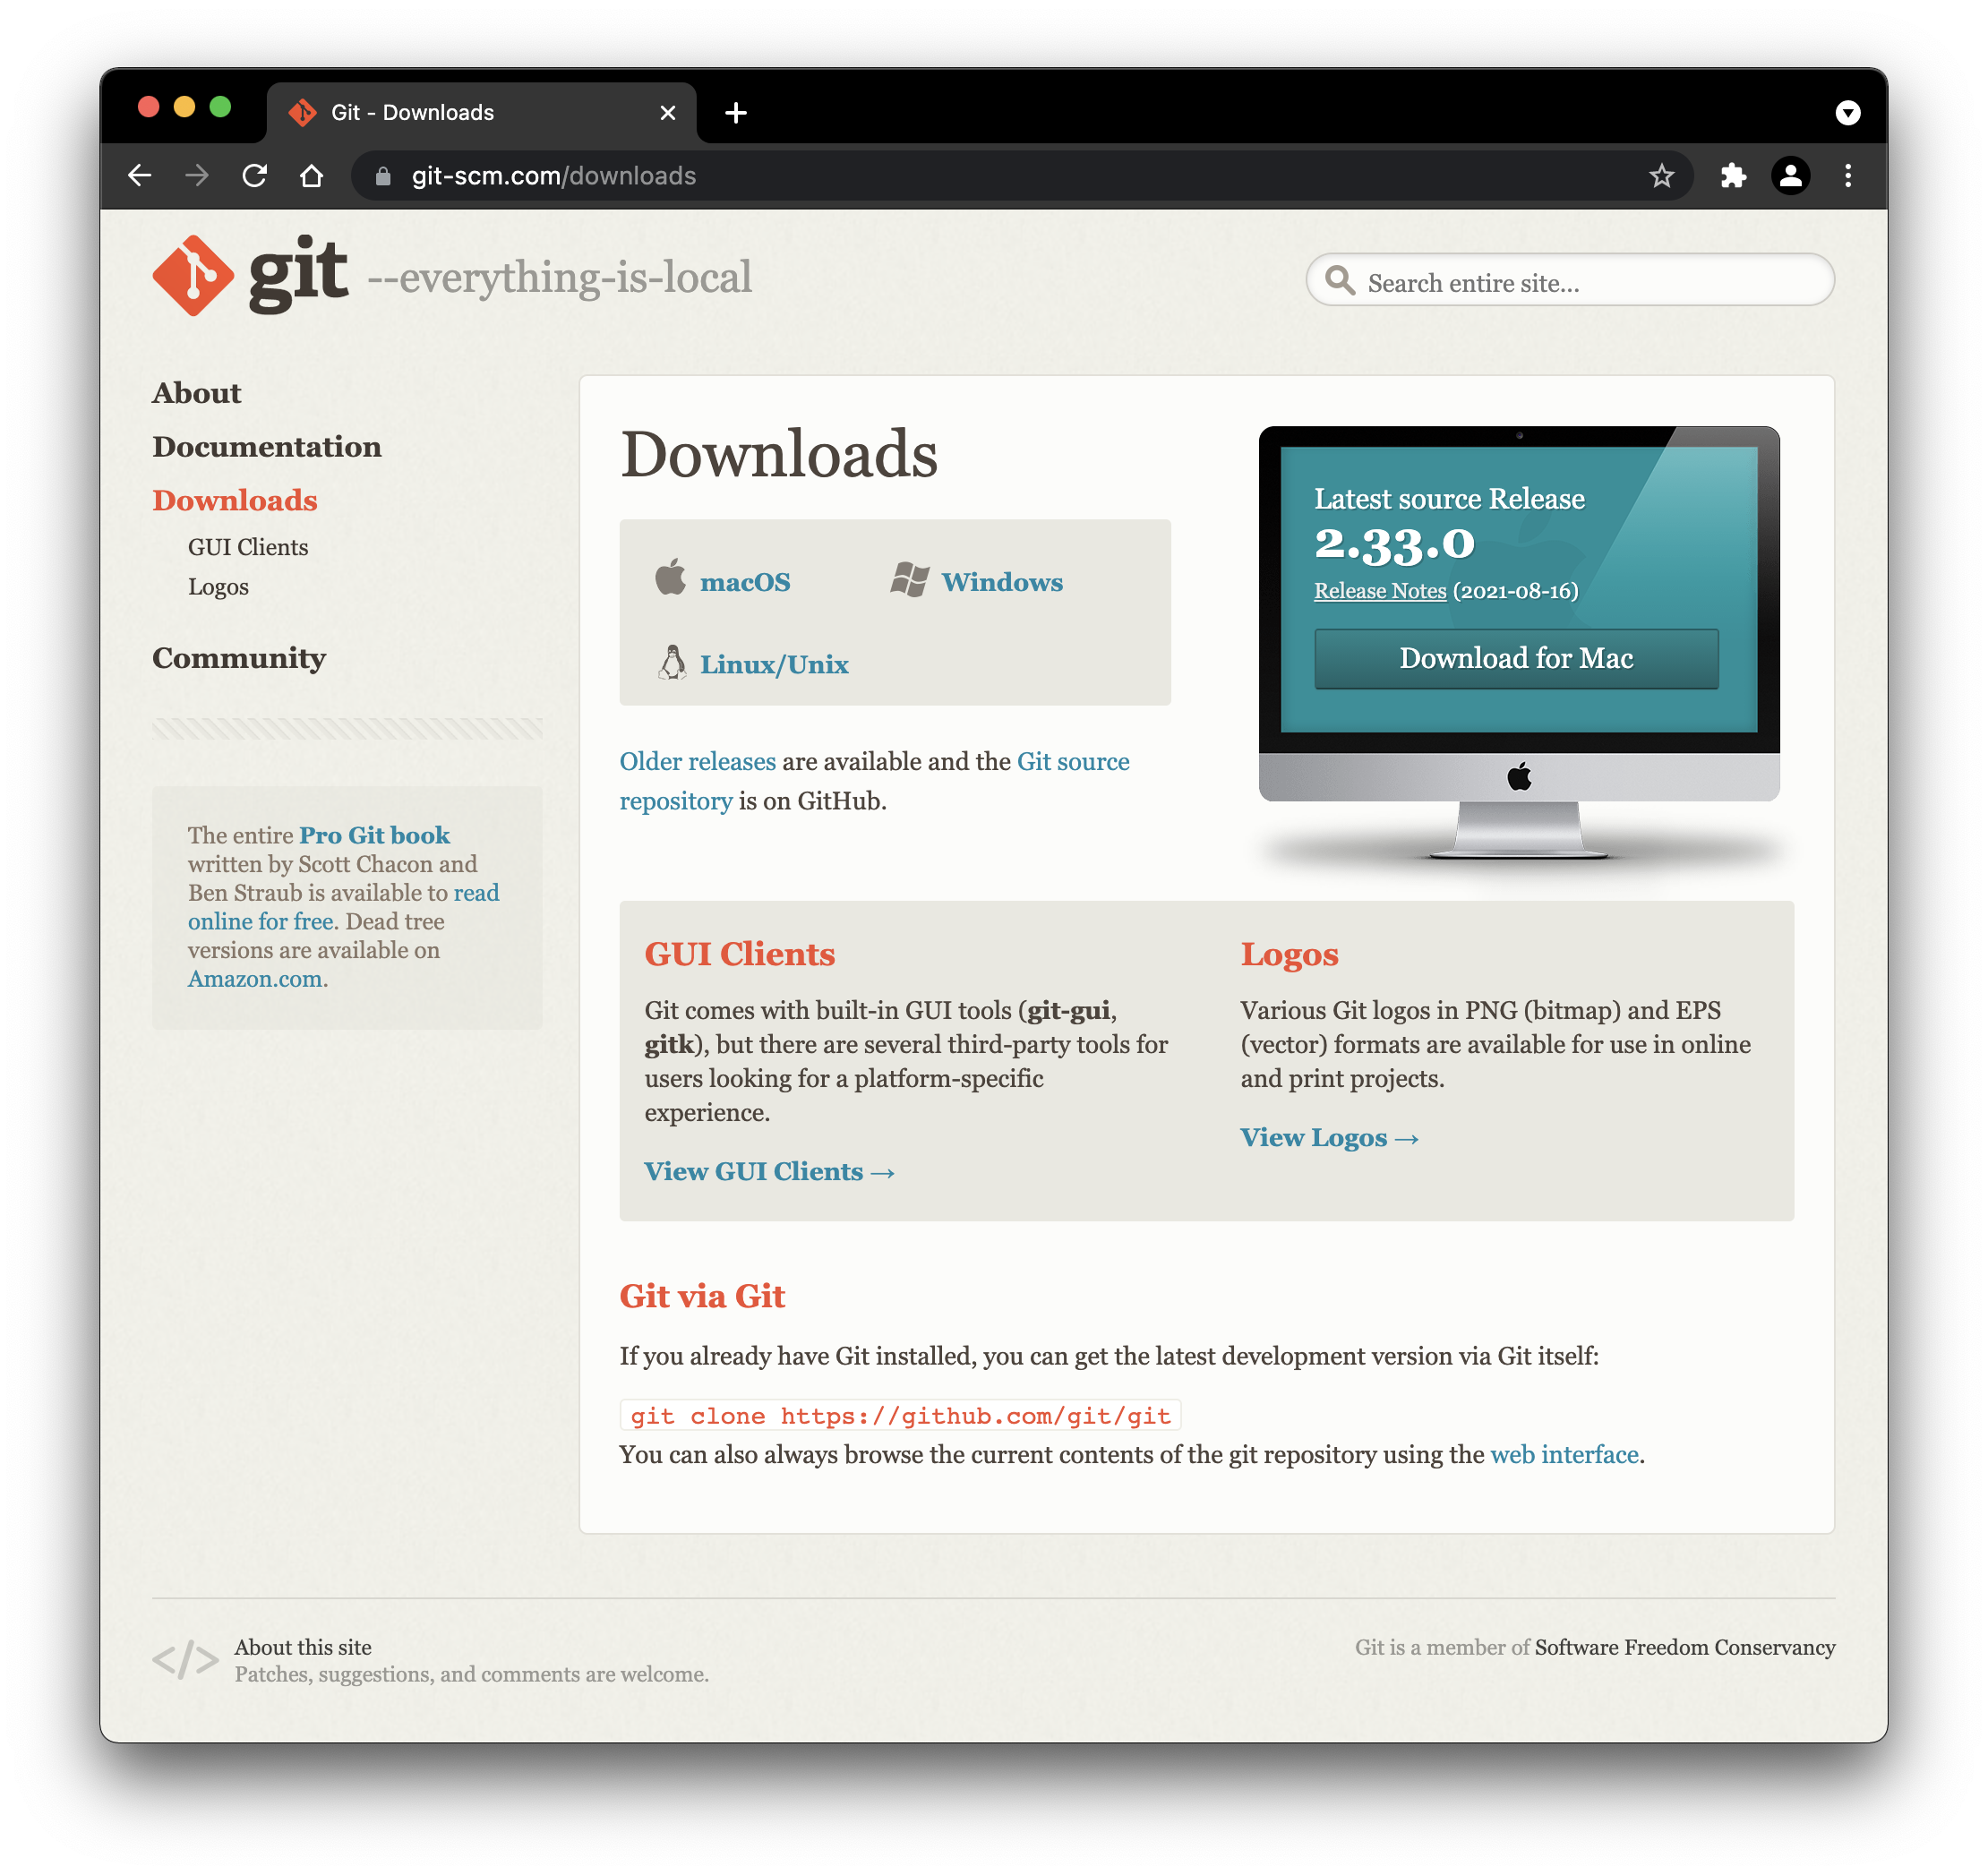
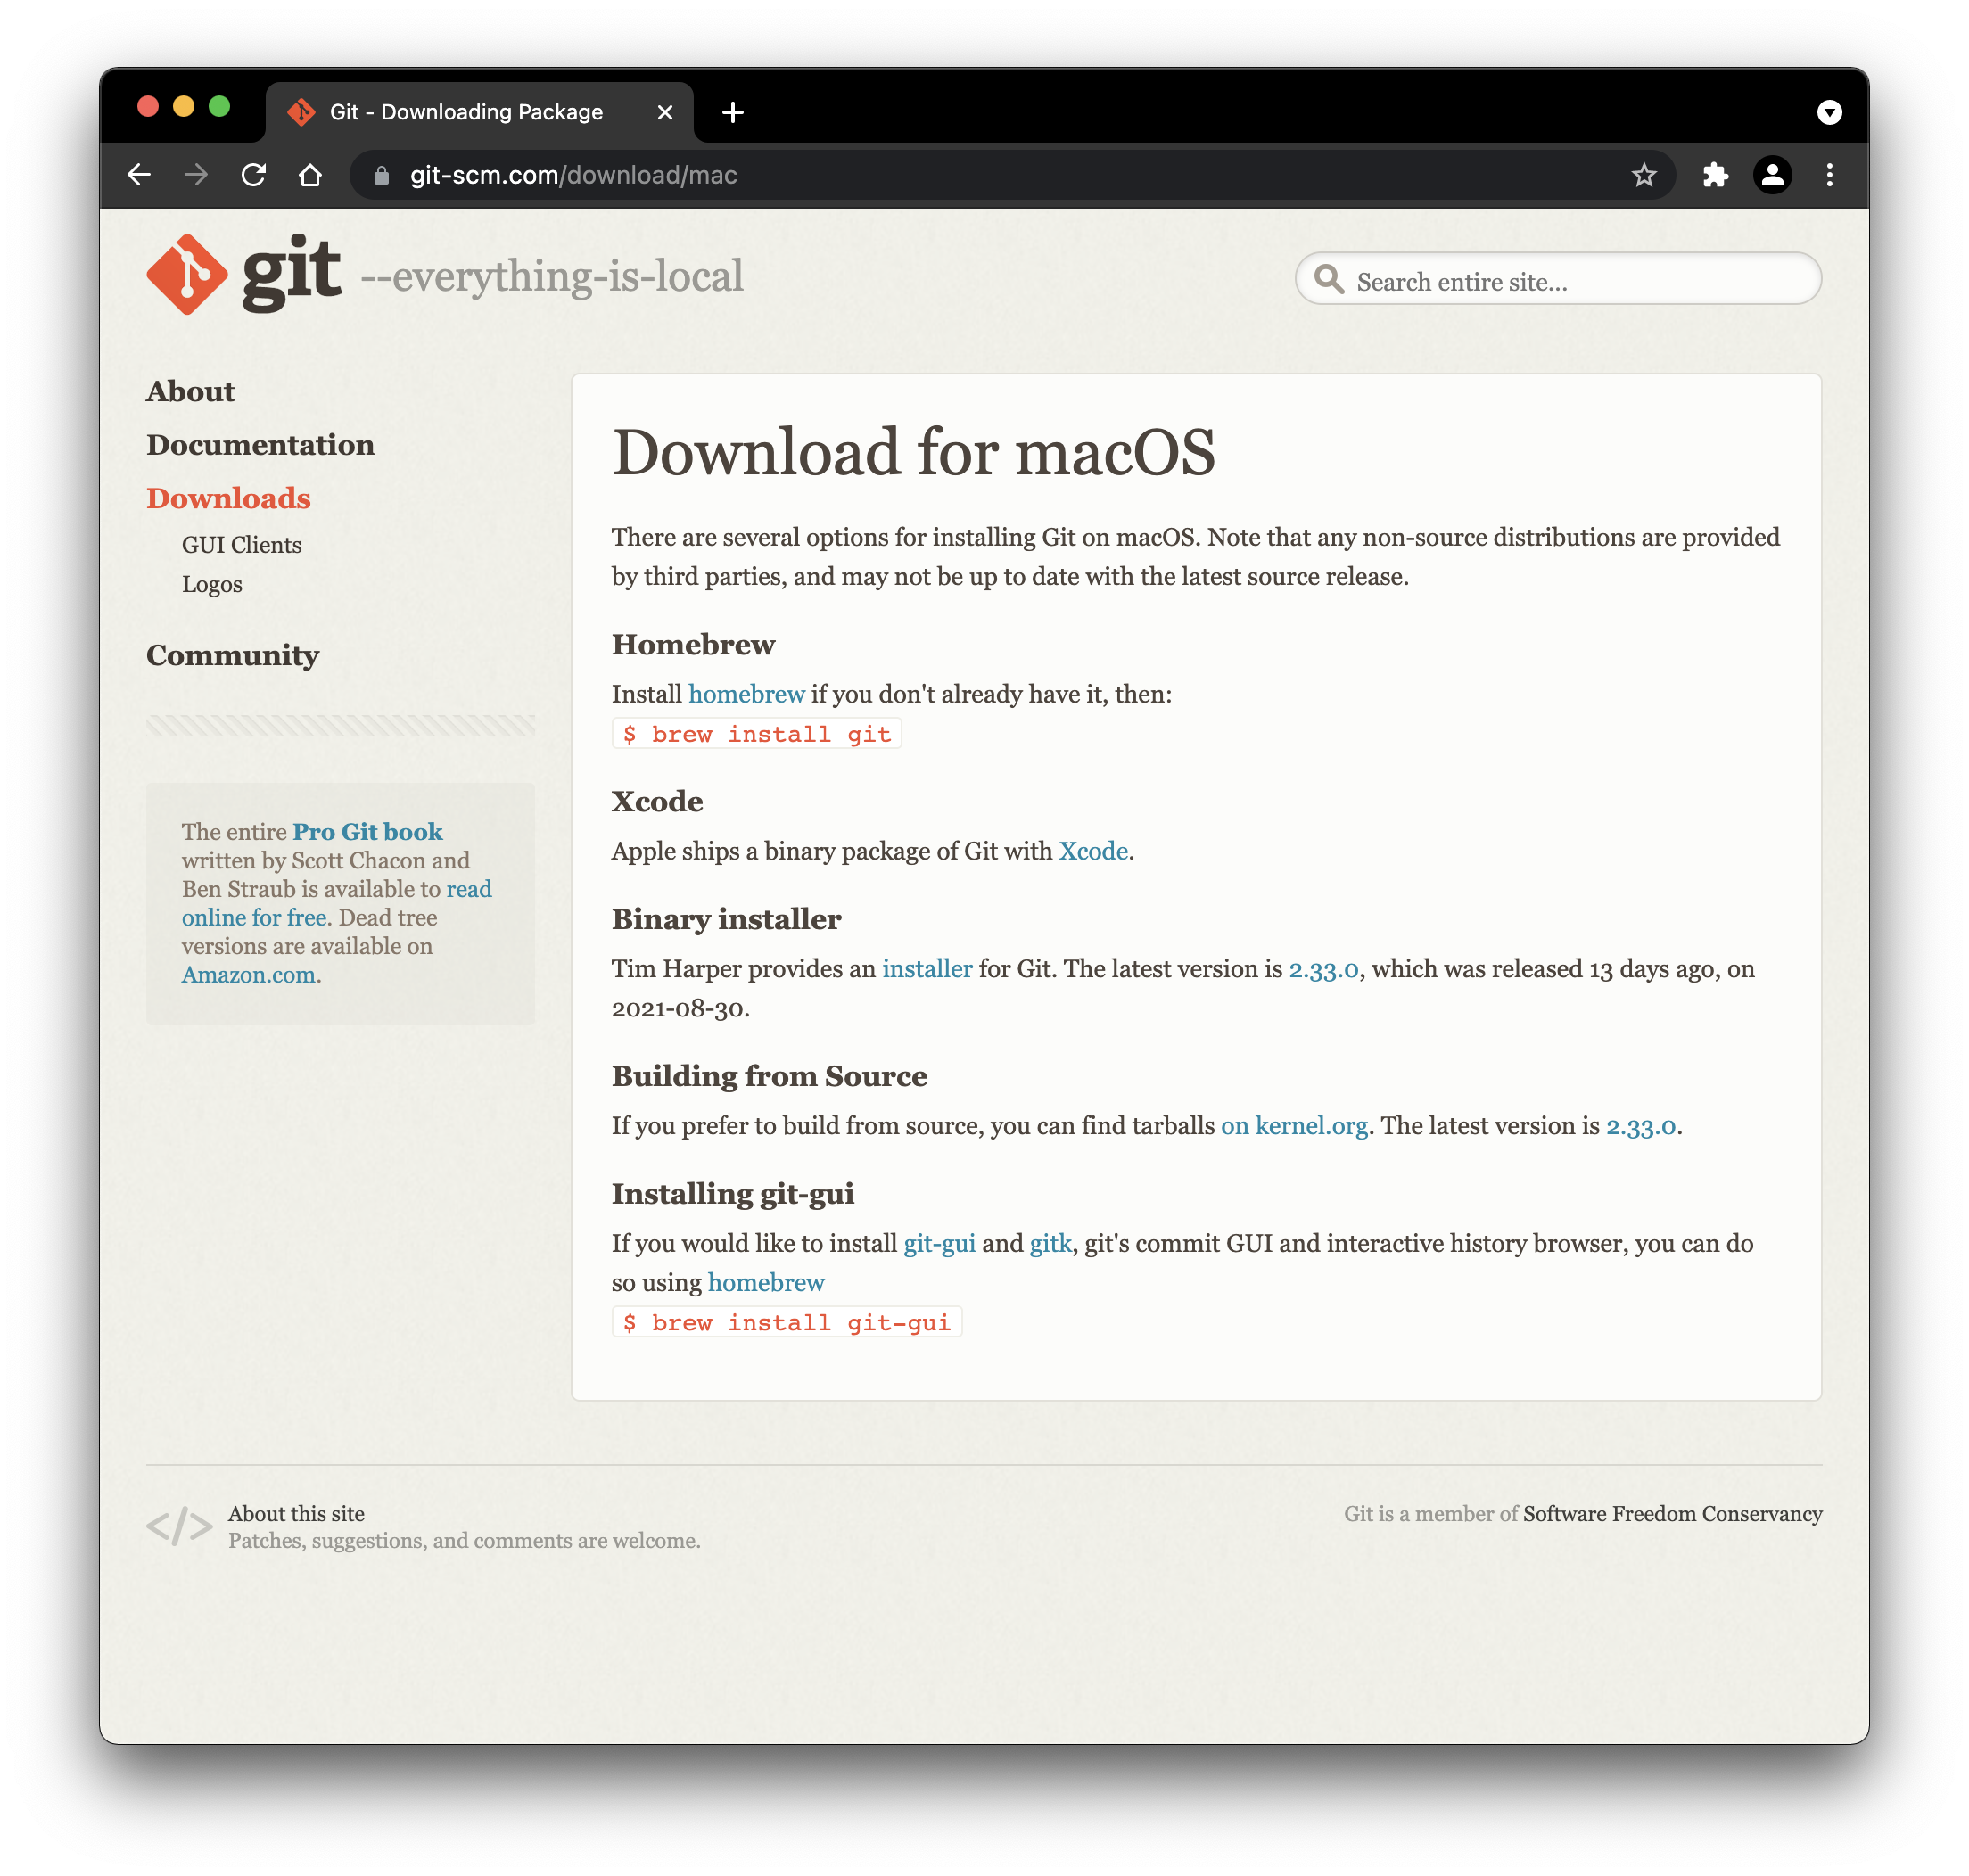
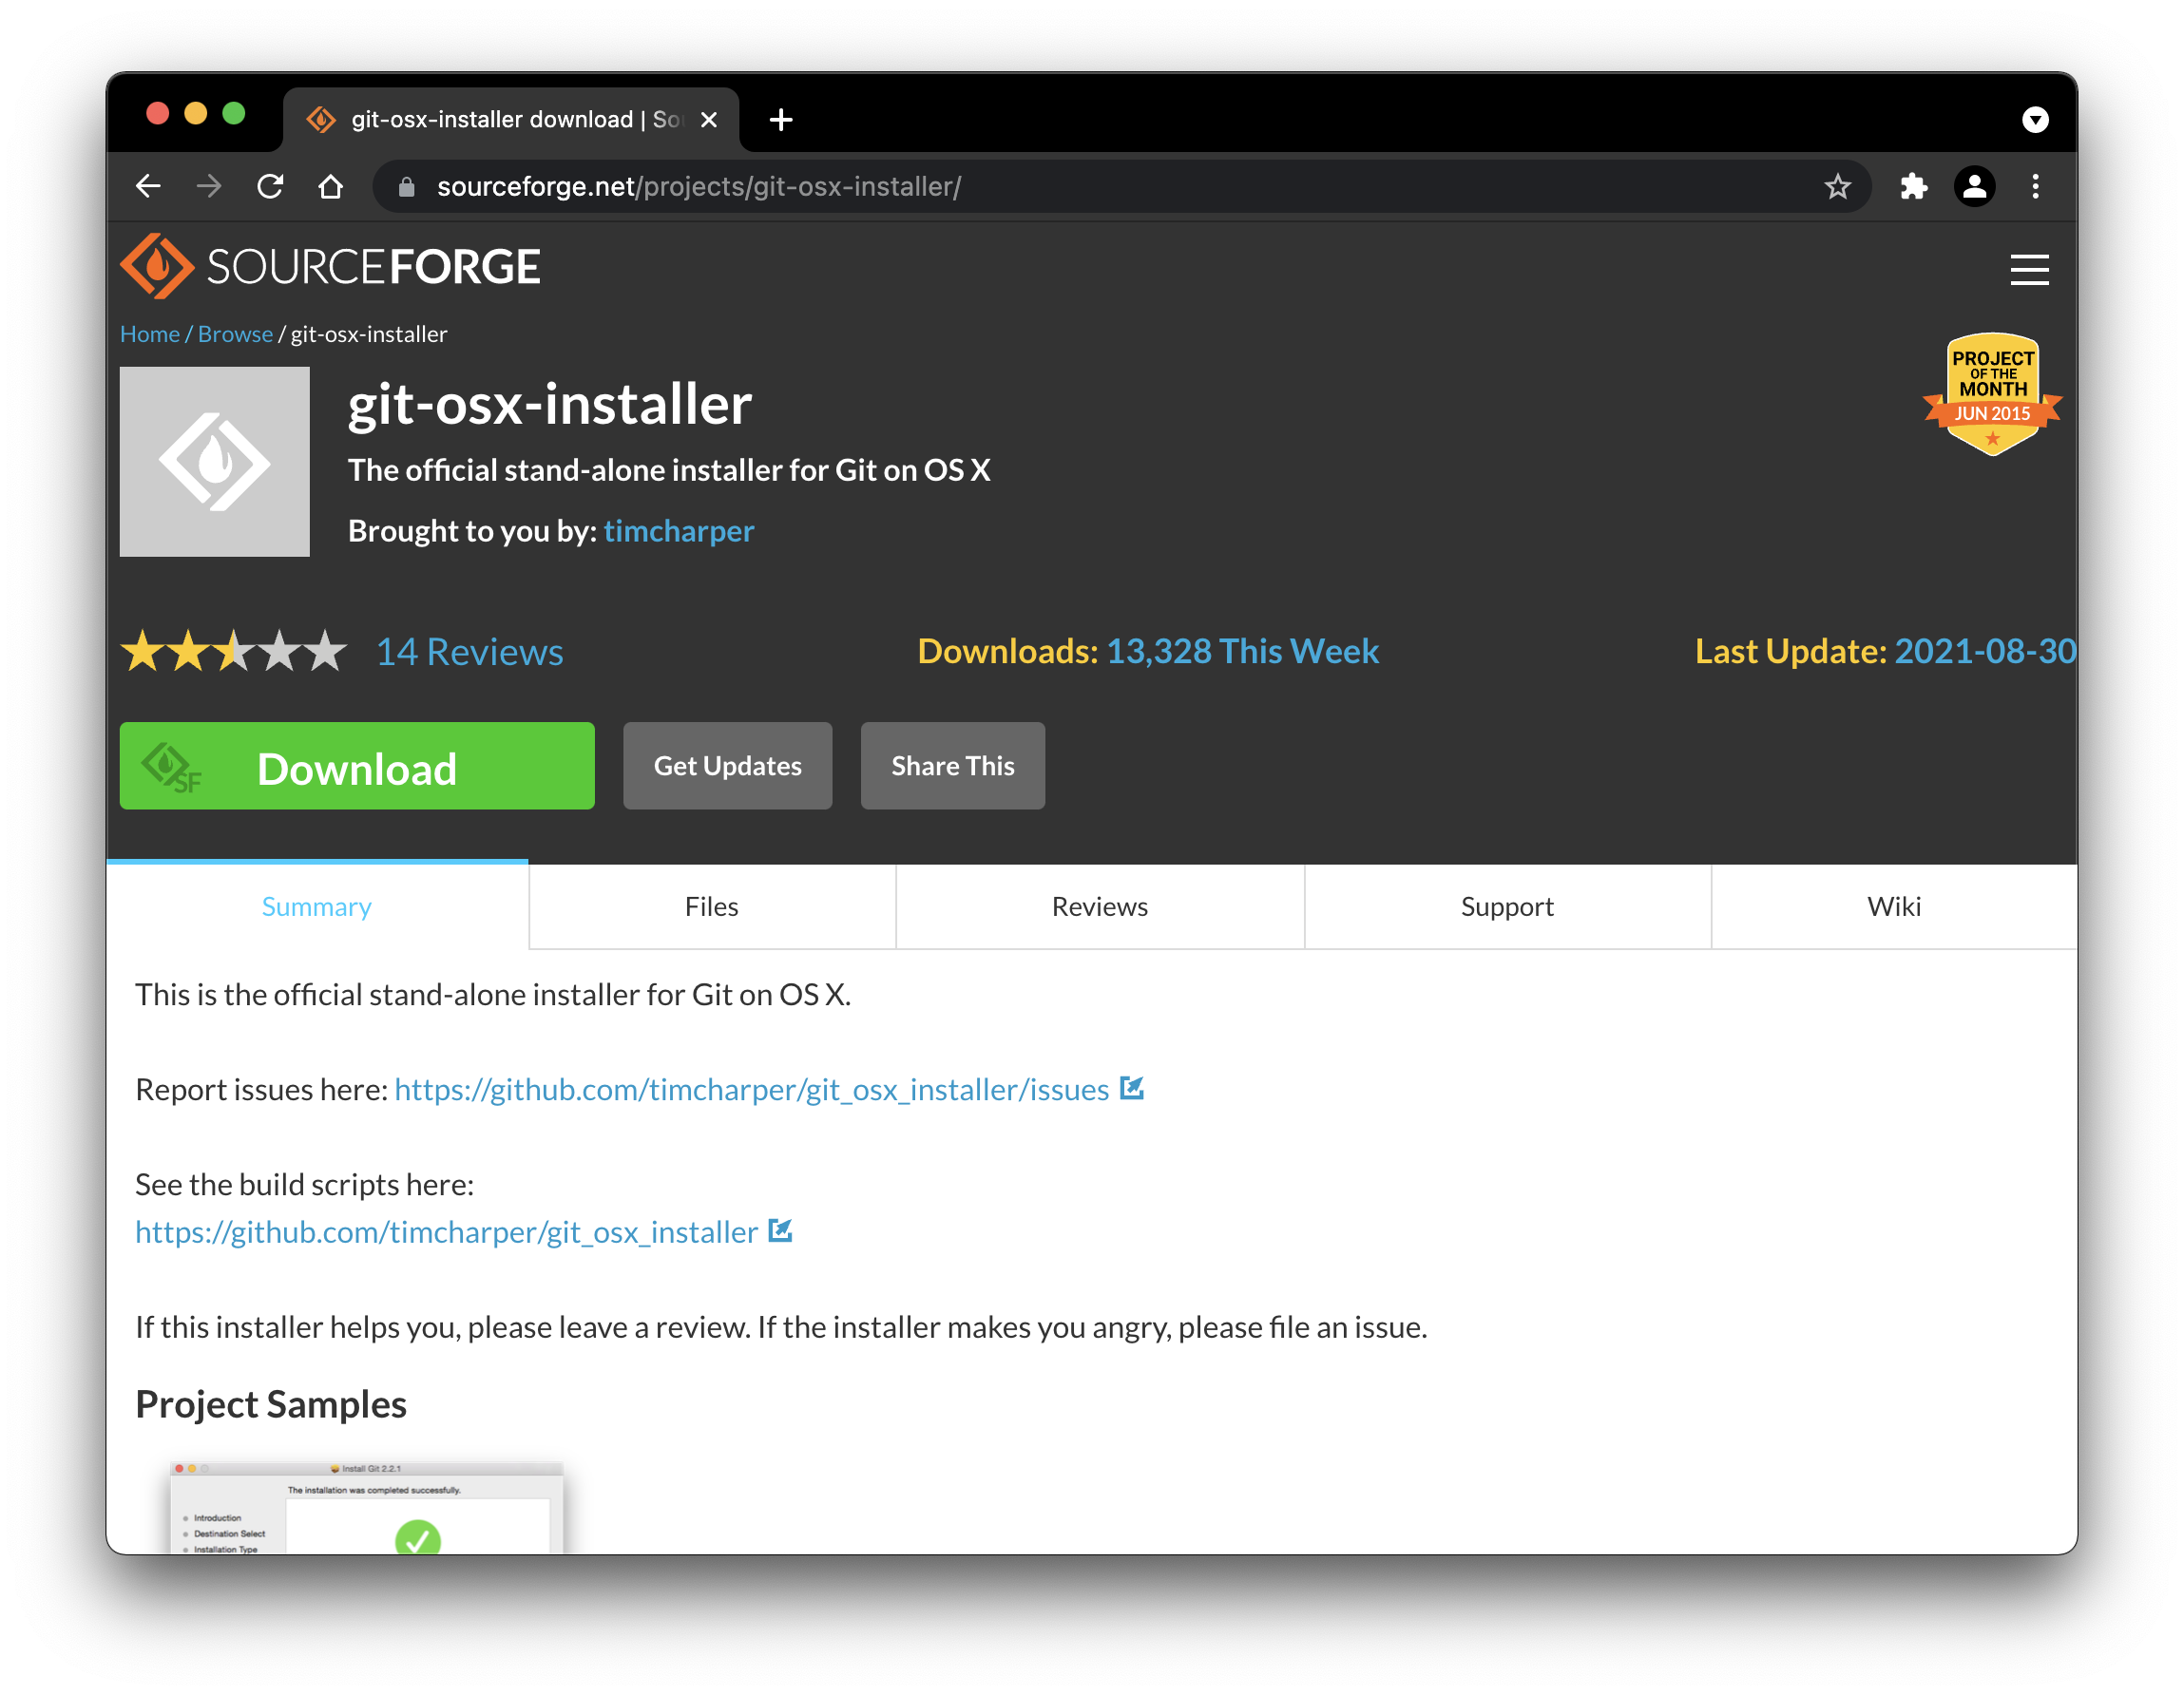
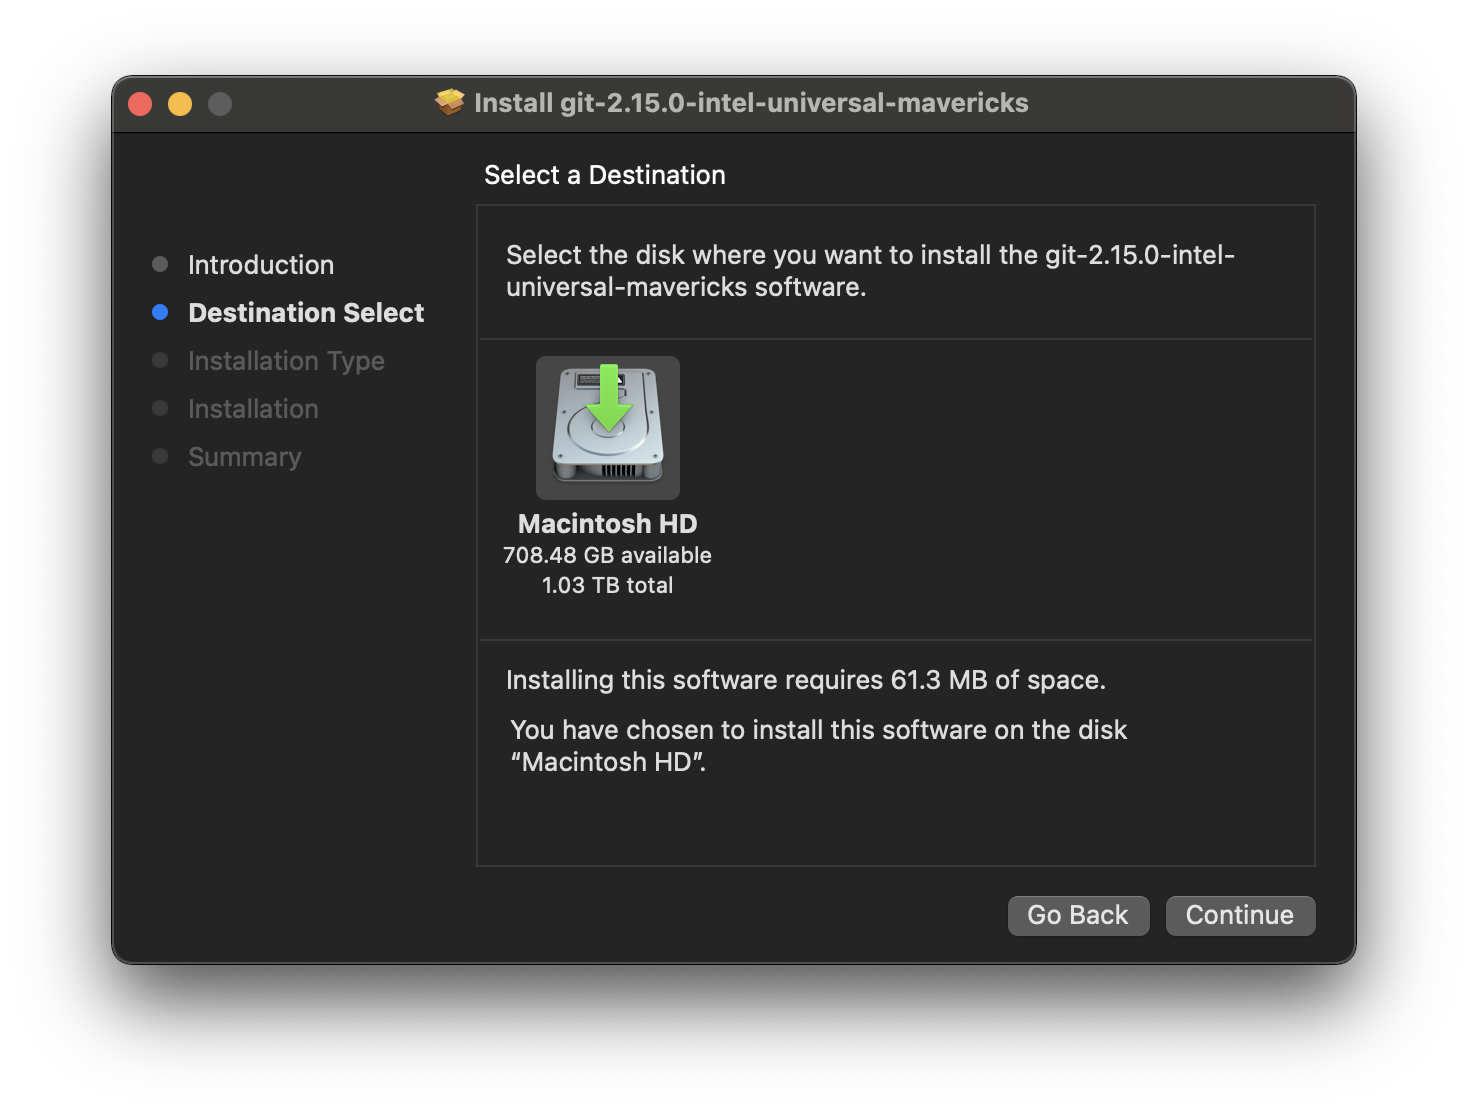
In order to use Git technology on your computer, you will need to download and install it, which you can do for free from the Git open-source website. Work through the operating systems-specific instructions provided below to get Git installed and ready to use.
Select your operating system tab below for OS-specific instructions:
Choose your operating system 


Now that you have worked through this overview of Git technology and have installed it on your computer, I recommend that you continue to the GitHub page next.