


Table of Contents » Appendices : Google CoLaboratory
Appendix
Google CoLaboratory (a.k.a. CoLab) is a free, cloud-based service offered by Google. It allows you to write and execute Python code in a web browser with no setup required. The only requirement to use CoLab is that you have a Google account (which is also free). Follow the steps below to get started with Google CoLaboratory:
- Go to the Google main page.
- Click the Sign In button.
- If you do not have a Google account, click the Create Account link.
- Follow the on-screen instructions to create your Google account.
- Sign in to your Google account.
- Then go to the Google CoLaboratory site.
- If everything worked correctly, you should see either an welcome page or an empty Jupyter Notebook page, like these:

Figure 1: CoLab Welcome Page

Figure 2: CoLab New (Empty) Jupyter Notebook
Note: Your pages might look a bit different, for example, I have dark mode set on my computer. The CoLab pages will likely have white backgrounds if yours is not set that way.
Now that you are signed in to Google and connected to CoLab, follow the steps below to test your setup.
Follow the steps below to test your Google CoLab setup:
- Continuing from the steps outlined above...
- If you see the Welcome page, as shown in Figure 1. above, click File - New Notebook.
- Here are a few key details about the Jupyter Notebook interface to get us started:

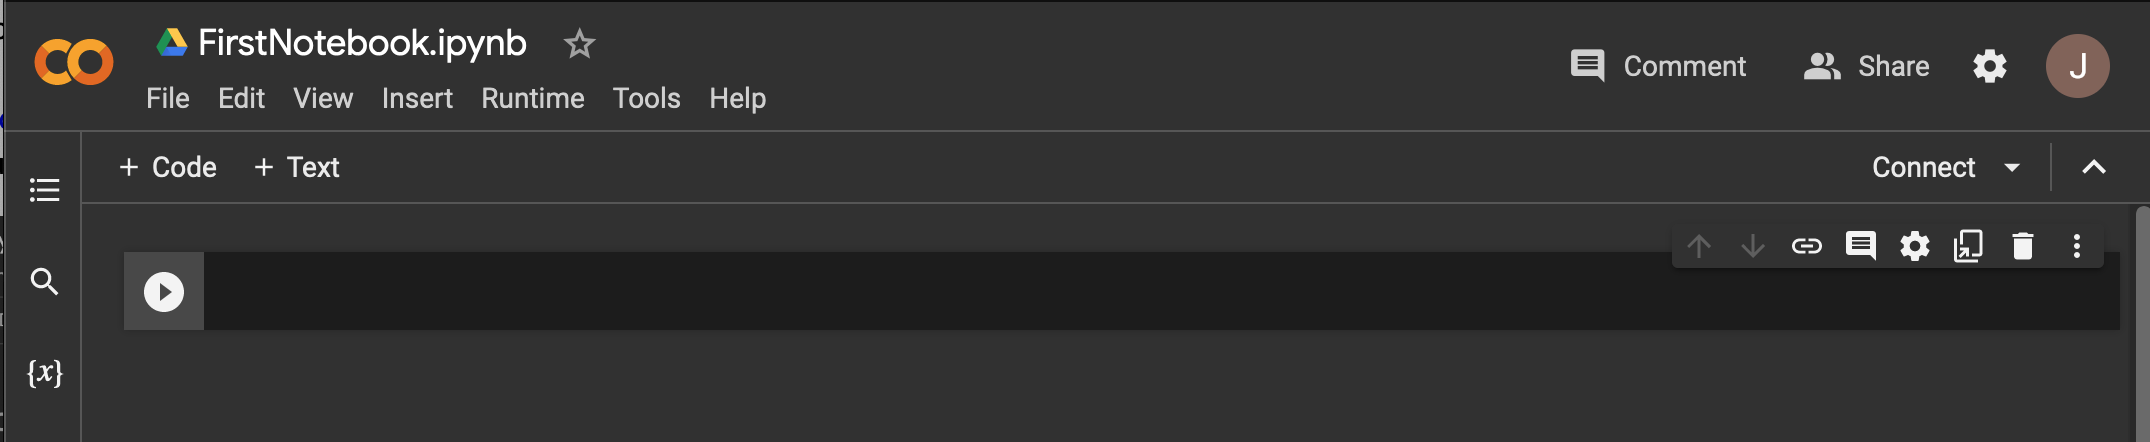
- Next, let's rename our notebook. Double-click the "Untitled0" part of the Notebook Filename and change it to "FirstNotebook". Now it should look like this:
- Next, in the Editing Pane, type the following Python code exactly as you see it here (except, replace my name with yours in the code) and then click the Run Button.
print("Hello, my name is John.") - After you have entered the code and clicked the Run Button it should look like this:
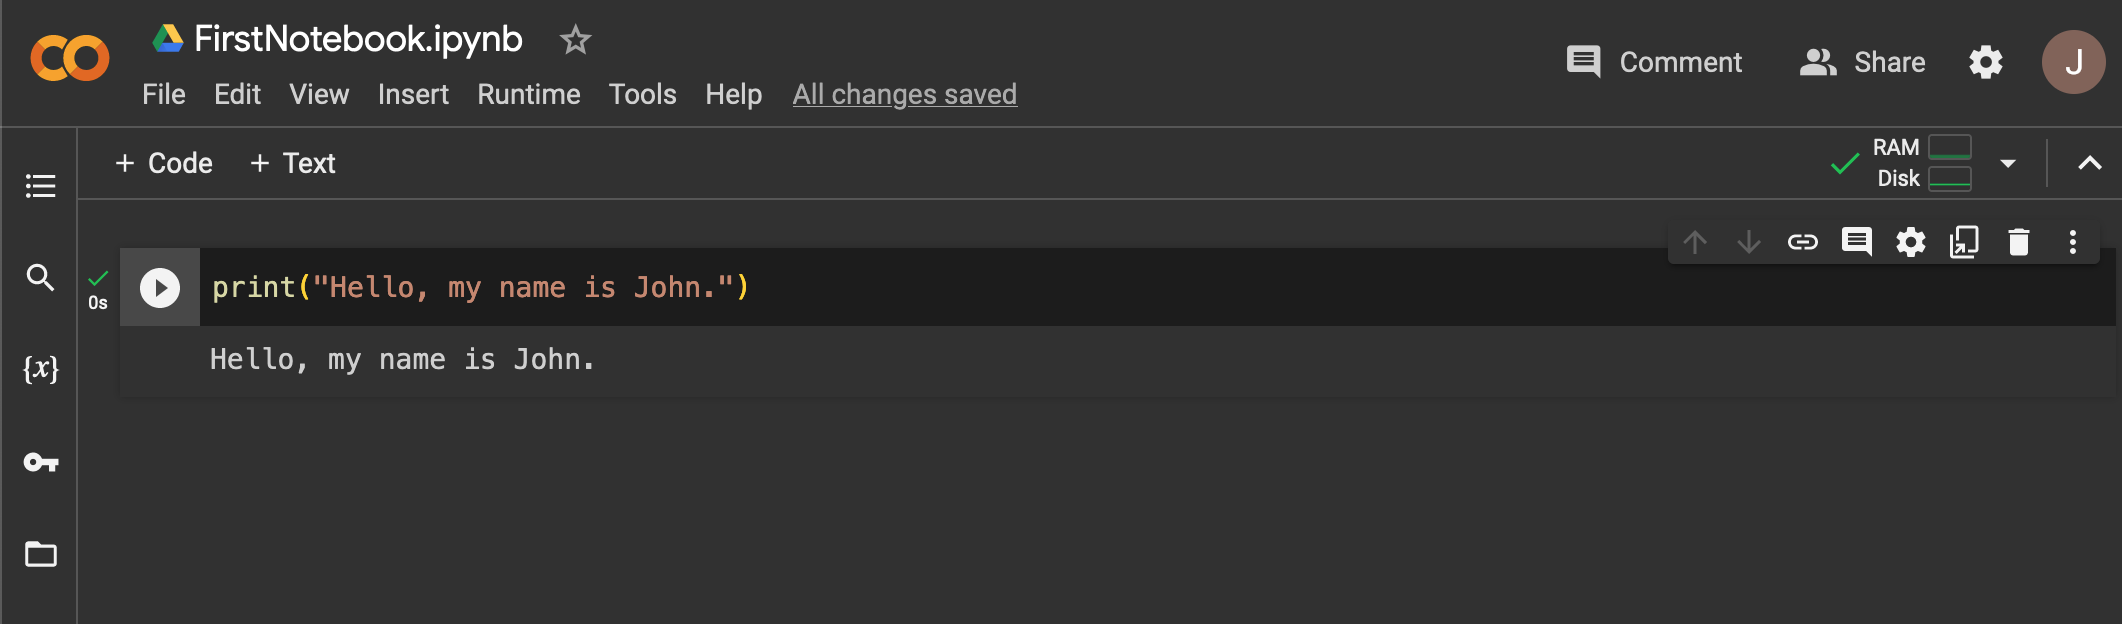
- Notice that the code we wrote is an instruction for Python to print the sentence inside of the quote marks " ". And, when we click the Run Button, the program runs and the output of the print comment appears below our code.
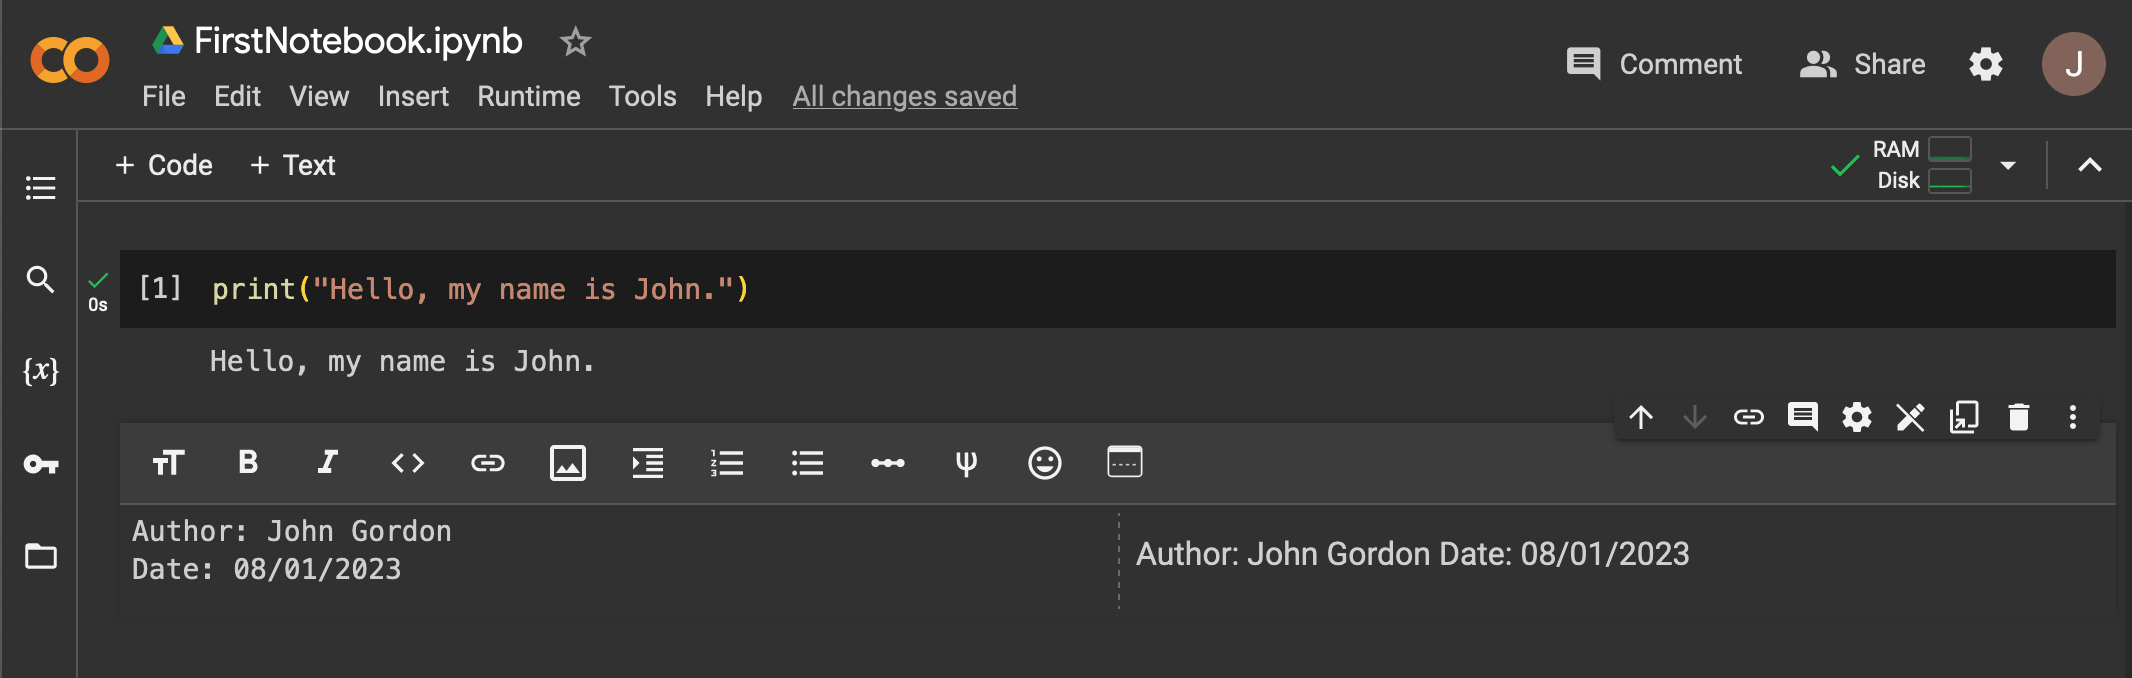
- Next, click the Text Cell Button. A new text cell should appear below the existing code cell and look like this:

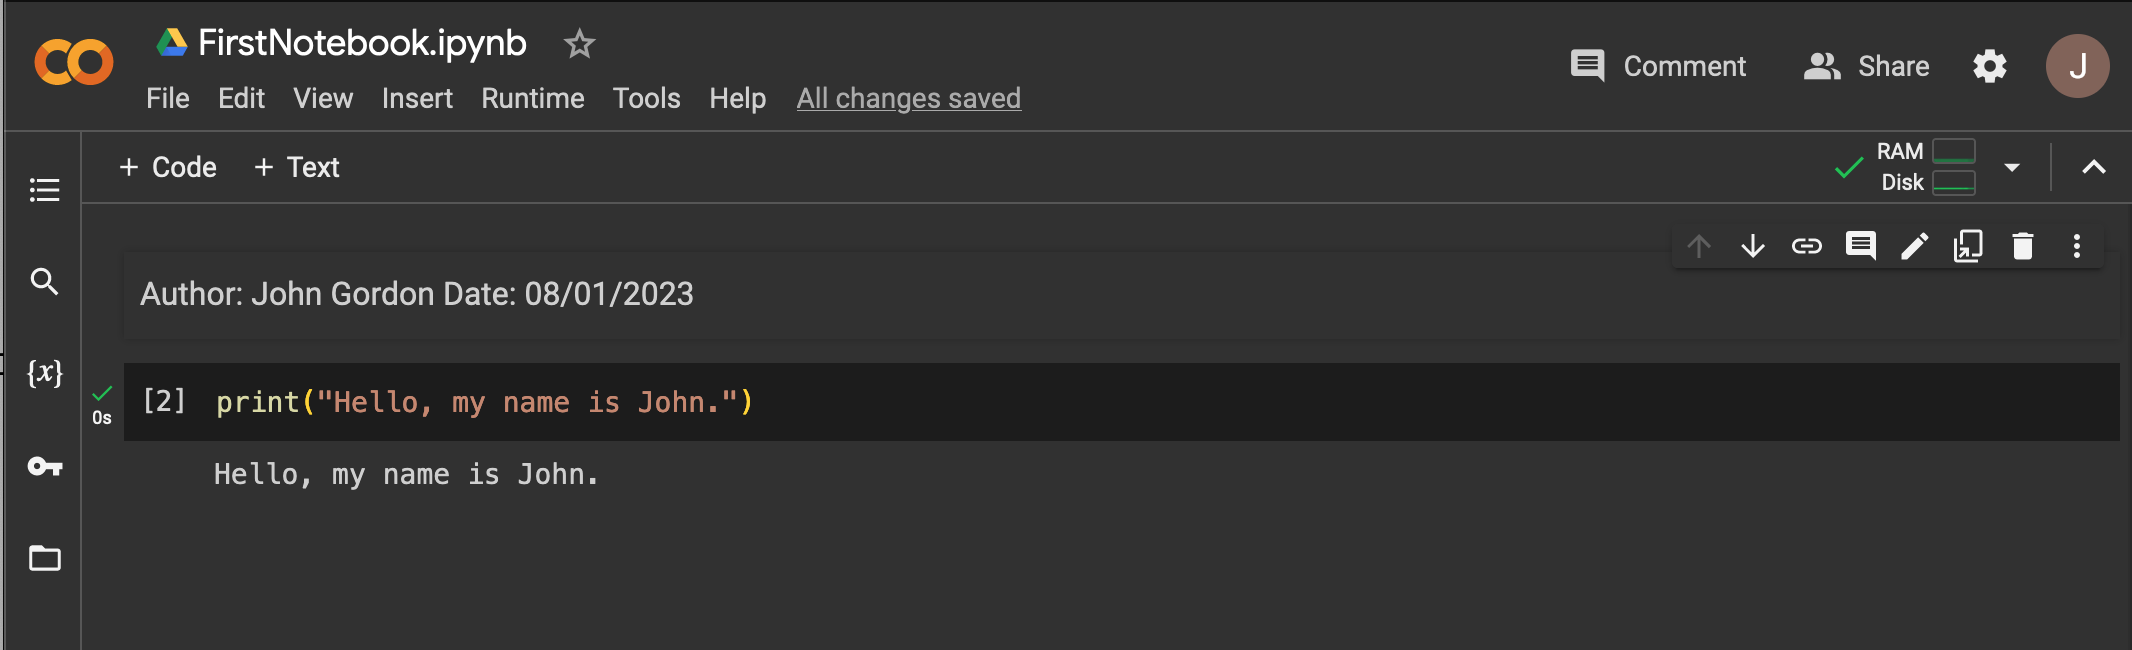
- Inside of that new text cell, type "Author: " and your name, and "Date: " and the date you created your notebook. It should look like this (with your name and date):
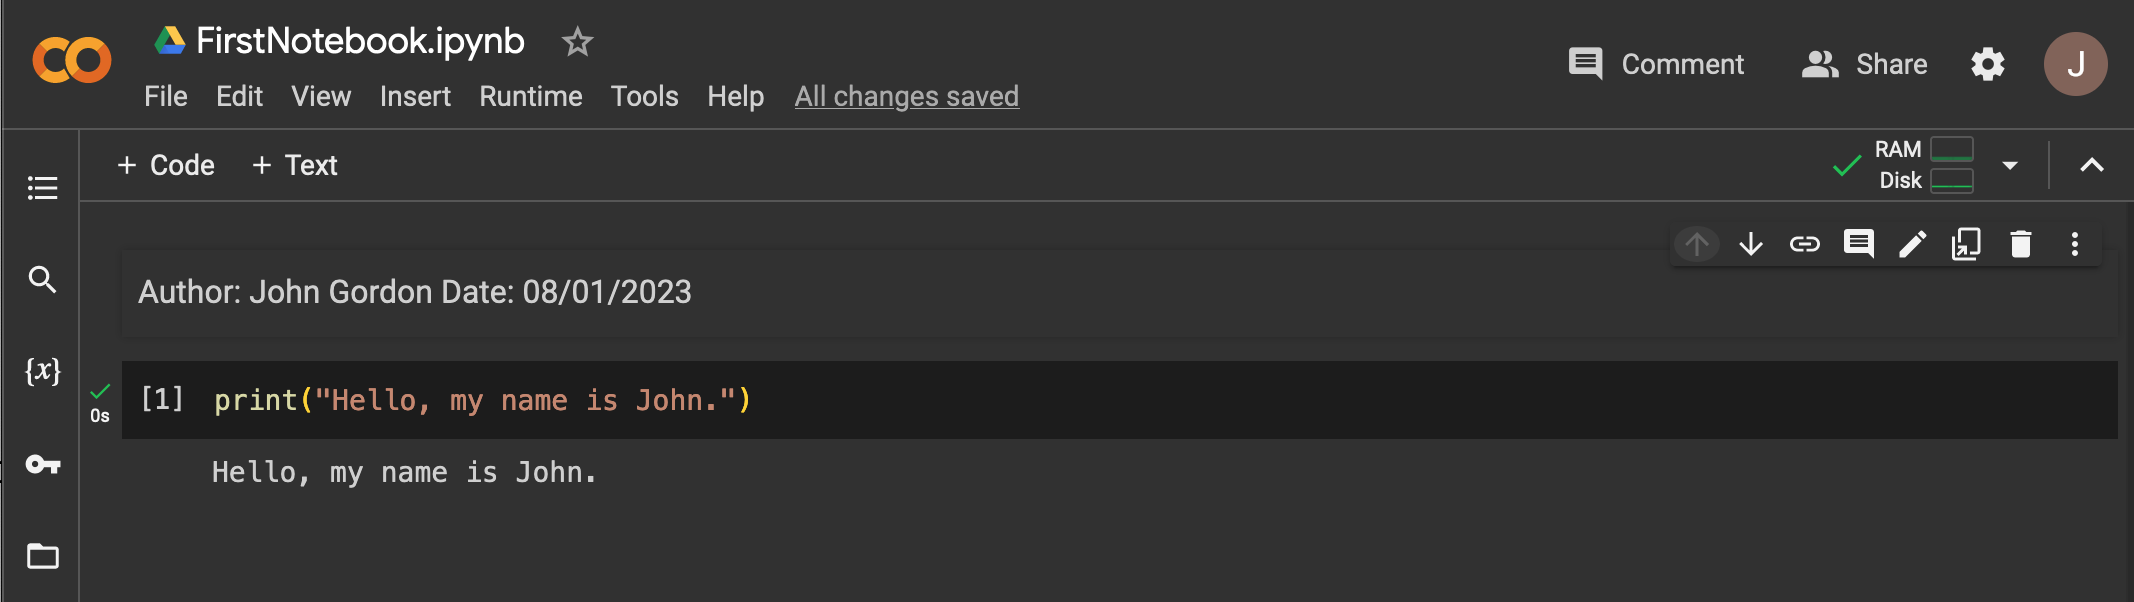
- Next, click the up-arrow on right-side of the Text Cell:

- The text cell moves up above the code cell we created earlier and should look like this:
- Next, click the Runtime menu option and click the Run All option. This will confirm that your notebook is working correctly. It should look like this:
- Lastly, you can use the Share Button to share your notebook with others. This works the same as sharing any other Google document, you can set it to share only with people you specify (using their email address) or set it to create a shareable link that you can give to anyone (without their email address). Once shared, the notebook becomes available for those people to see and run.
- For now, this walkthrough introduced the basic functionality of Jupyter Notebooks in Google CoLaboratory. We will work with this a great deal more as we proceed.