Subscribe Contact

Home  »  Chapter 1 : Preliminaries
Programming Tools & Computer Setup

Overview

In order to write code, in any programming language, we need access to software often referred to as programming tools. When we have the appropriate tools set up, we call that set of tools our development environment.

Concept: Programming Tools

A computer program that programmers use to create, debug, maintain, and support other programs and applications. These tools include code editors (used by programmers to write computer source code), debuggers (used to test code to find and remove mistakes in code), compilers and/or interpreters (used to convert source code into software (executables) useable by others), source code sharing tools (used by programmers to share their code with others, often other programmers who are working on the same overall software systems in a team-based development group), and many others.

Concept: Development Environment

A development environment is a set of software (tools) and hardware used by programmers to create programs and applications. These enviroments can vary widely depending on a number of factors, such as the overall goals of the development projects, the configuration of people who will work on the projects (one programmer, a team of programmers, etc.), the size of the projects, the type and availability of the programming tools involved, the personal preferences of the programmers, and other factors.

For our purposes, we will begin using a simple development environment called Google CoLaboratory (CoLab). We'll start there because CoLab requires no setup and is an easy place to begin to learn to write Python code. Later we will explore other types of develoment environments.


Page Menu: 

Getting Started with Google CoLaboratory (Free) Online

Google CoLaboratory (a.k.a. CoLab) is a free, cloud-based service offered by Google. It allows you to write and execute Python code in a web browser with no setup required. The only requirement to use CoLab is that you have a Google account (which is also free). Follow the steps below to get started with Google CoLaboratory:

  1. Go to the Google main page.
  2. Click the Sign In button.
  3. If you do not have a Google account, click the Create Account link.
    • Follow the on-screen instructions to create your Google account.
  4. Sign in to your Google account.
  5. Then go to the Google CoLaboratory site.
  6. If everything worked correctly, you should see either an welcome page or an empty Jupyter Notebook page, like these:

Figure 1: CoLab Welcome Page

Figure 2: CoLab New (Empty) Jupyter Notebook

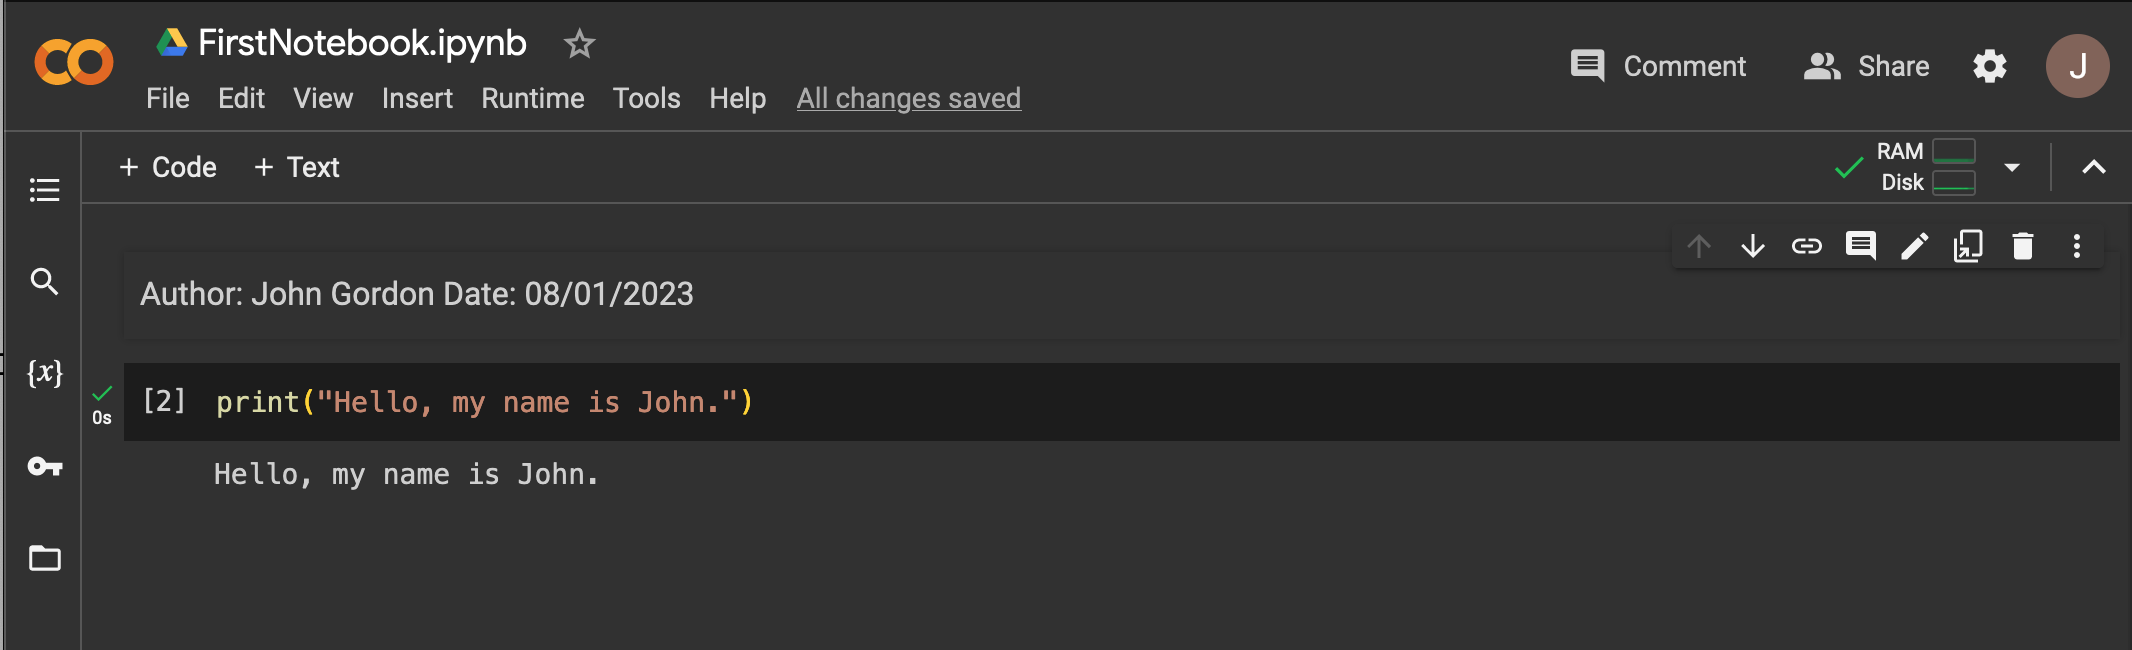
Note: Your pages might look a bit different, for example, I have dark mode set on my computer. If yours is not set that way, the CoLab pages will likely have white backrounds.

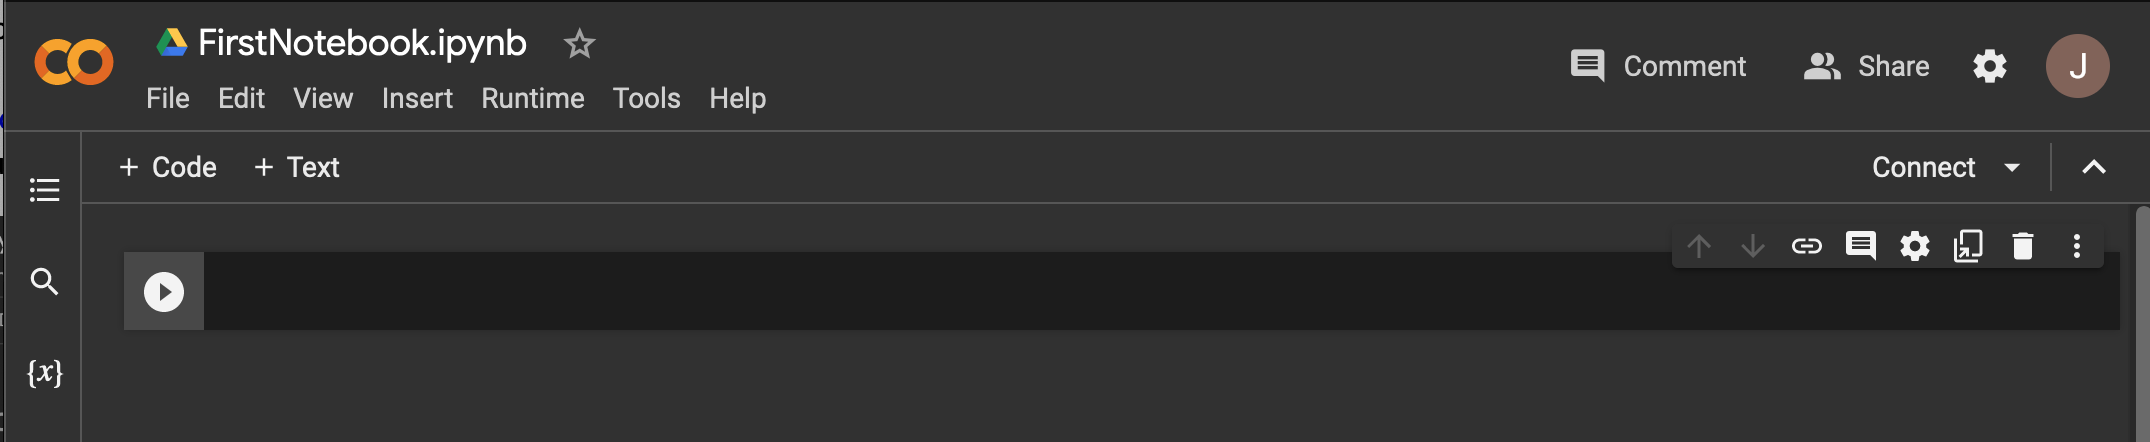
Now that you are signed-in to Google and connected to CoLab, follow the steps below to test your setup.

Test Your CoLab Setup

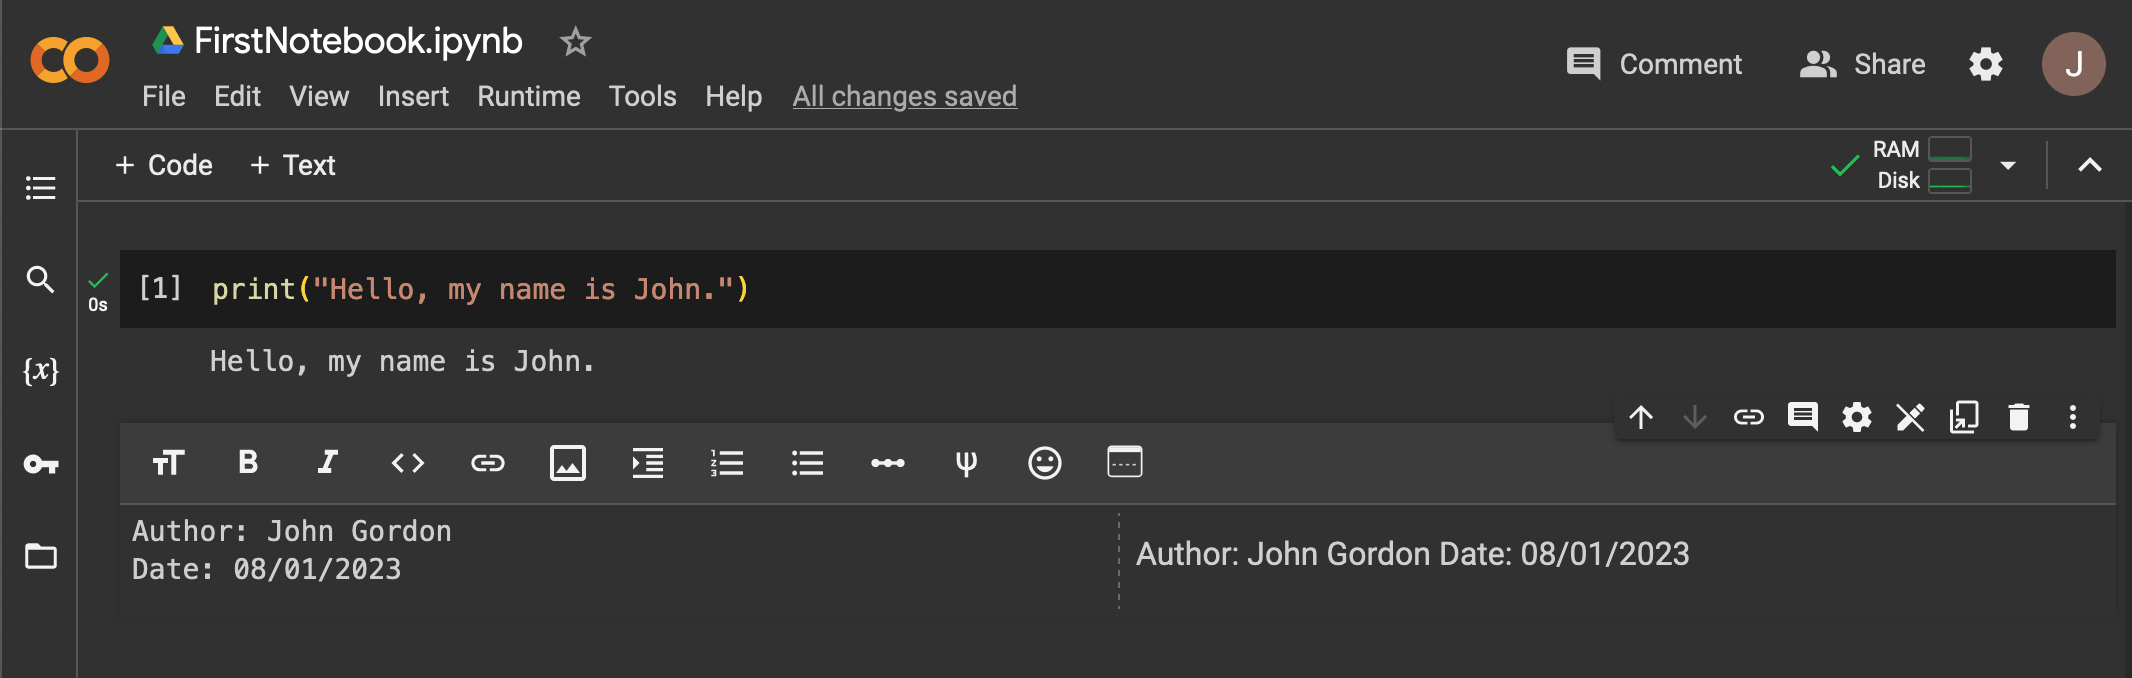
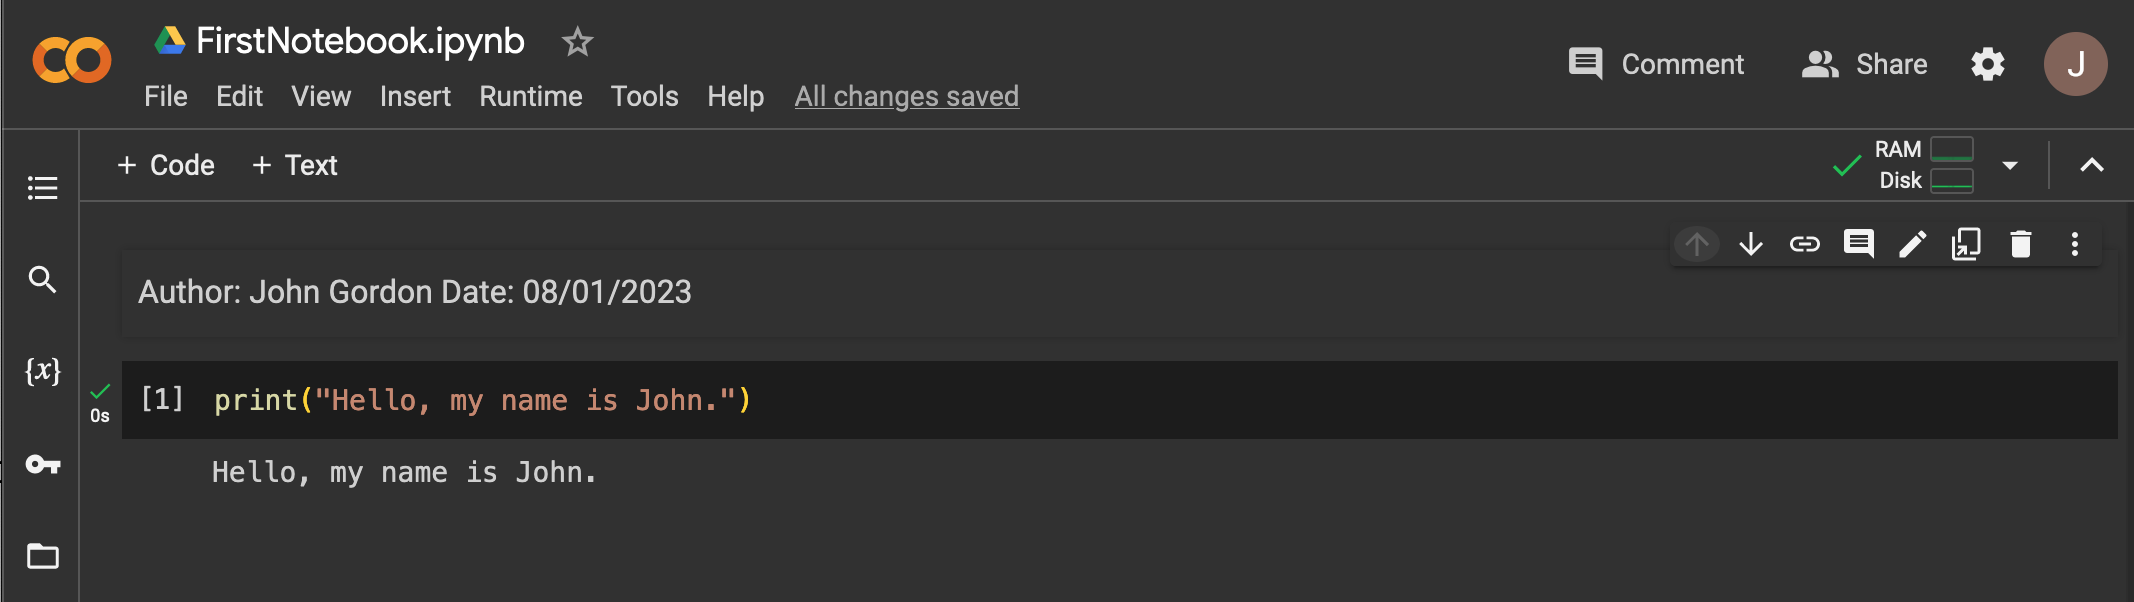
Follow the steps below to test your Google CoLab setup:

  1. Continuing from the steps outlined above...
  2. If you see the Welcome page, as shows in Figure 1. above, click File - New Notebook.
  3. Here are a few key details about the Jupyter Notebook interface to get us started:


  4. Next, let's rename our notebook. Double-click the "Untitled0" part of the Notebook Filename and change it to "FirstNotebook". Now it should look like this:


  5. Next, in the Editing Pane, type the following Python code exactly as you see it here (except, replace my name with yours in the code) and then click the Run Button.

    print("Hello, my name is John.")
  6. After you have entered the code and clicked the Run Button it should look like this:


  7. Notice that the code we wrote is an instruction for Python to print the sentence inside of the quote marks " ". And, when we click the Run Button, the program runs and the output of the print comment appears below our code.
  8. Next, click the Text Cell Button. A new text cell should appear below the existing code cell and look like this:


  9. Inside of that new text cell, type "Author: " and your name, and "Date: " and the date you created your notebook. It should look like this (with your name and date):


  10. Next, click the up-arrow on right-side of the Text Cell:


  11. The text cell moves up above the code cell we created earlier and should look like this:


  12. Next, click the Runtime menu option and click the Run All option. This will confirm that your notebook is working correctly. It should look like this:


  13. Lastly, you can use the Share Button to share your notebook with others. This works the same as sharing any other Google document, you can set it to share only with people you specify (using their email address) or set it to create a shareable link that you can give to anyone (without their email address). Once shared, the notebook becomes available for those people to see and run.
  14. For now, this walkthrough introduced the basic functionality of Jupyter Notebooks in Google CoLaboratory. We will work with this a great deal more as we proceed.

Getting Started with ChatGPT

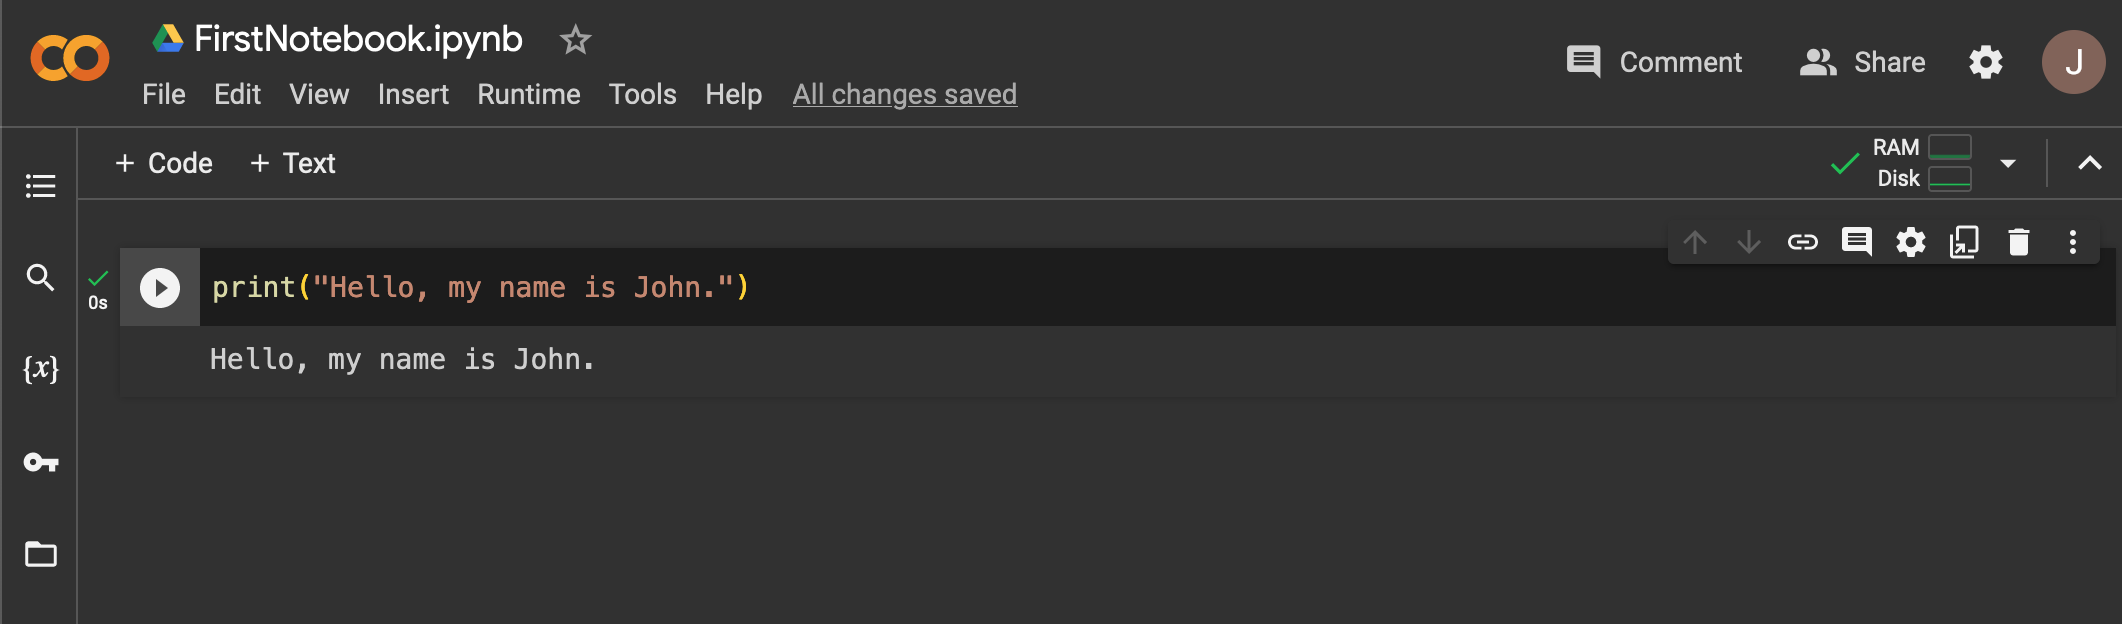
OpenAI ChatGPT is an Artificial Intelligence (AI)-based chatbot that we will use as one of our programming toolset to learn how to make use of modern AI tools while still learning to code to a level of proficiency.

Concept: Prompt (ChatGPT)

In the context of ChatGPT, the word prompt refers to the initial input or instruction provided by a user that the AI responds to. It's essentially the question, statement, or command that a user types in, to which ChatGPT generates a relevant response. The prompt sets the context and directs the focus of the AI's response, serving as a starting point for the conversation or interaction.

For example, when you ask ChatGPT a question like "Can you define the concept of a development environment for Python development?" or give an instruction such as "Write a paragraph about the relationship between drone piloting and Python," those are prompts. They guide the AI on what subject matter to address, the type of information to provide (such as an explanation, description, story, etc.), and the tone or style to use in the response.

Follow the steps below to get started with OpenAI ChatGPT.
  1. In order to use OpenAI ChatGPT you have to create an account on their website. They have two options for their accounts: a free version and a paid subscription version. For our purposes, the free version will be sufficient, so I recommend that option for now.
  2. If you do not have an account with OpenAI ChatGPT, go to the OpenAI website and click the Sign Up button. Then follow the on-screen promopts to create your account.
  3. Sign in to your ChatGPT account.
  4. The ChatGPT page should look something like this:


Now that youi are signed into ChatGPT, follow the steps below to test your setup.

Test Your ChatGPT Setup

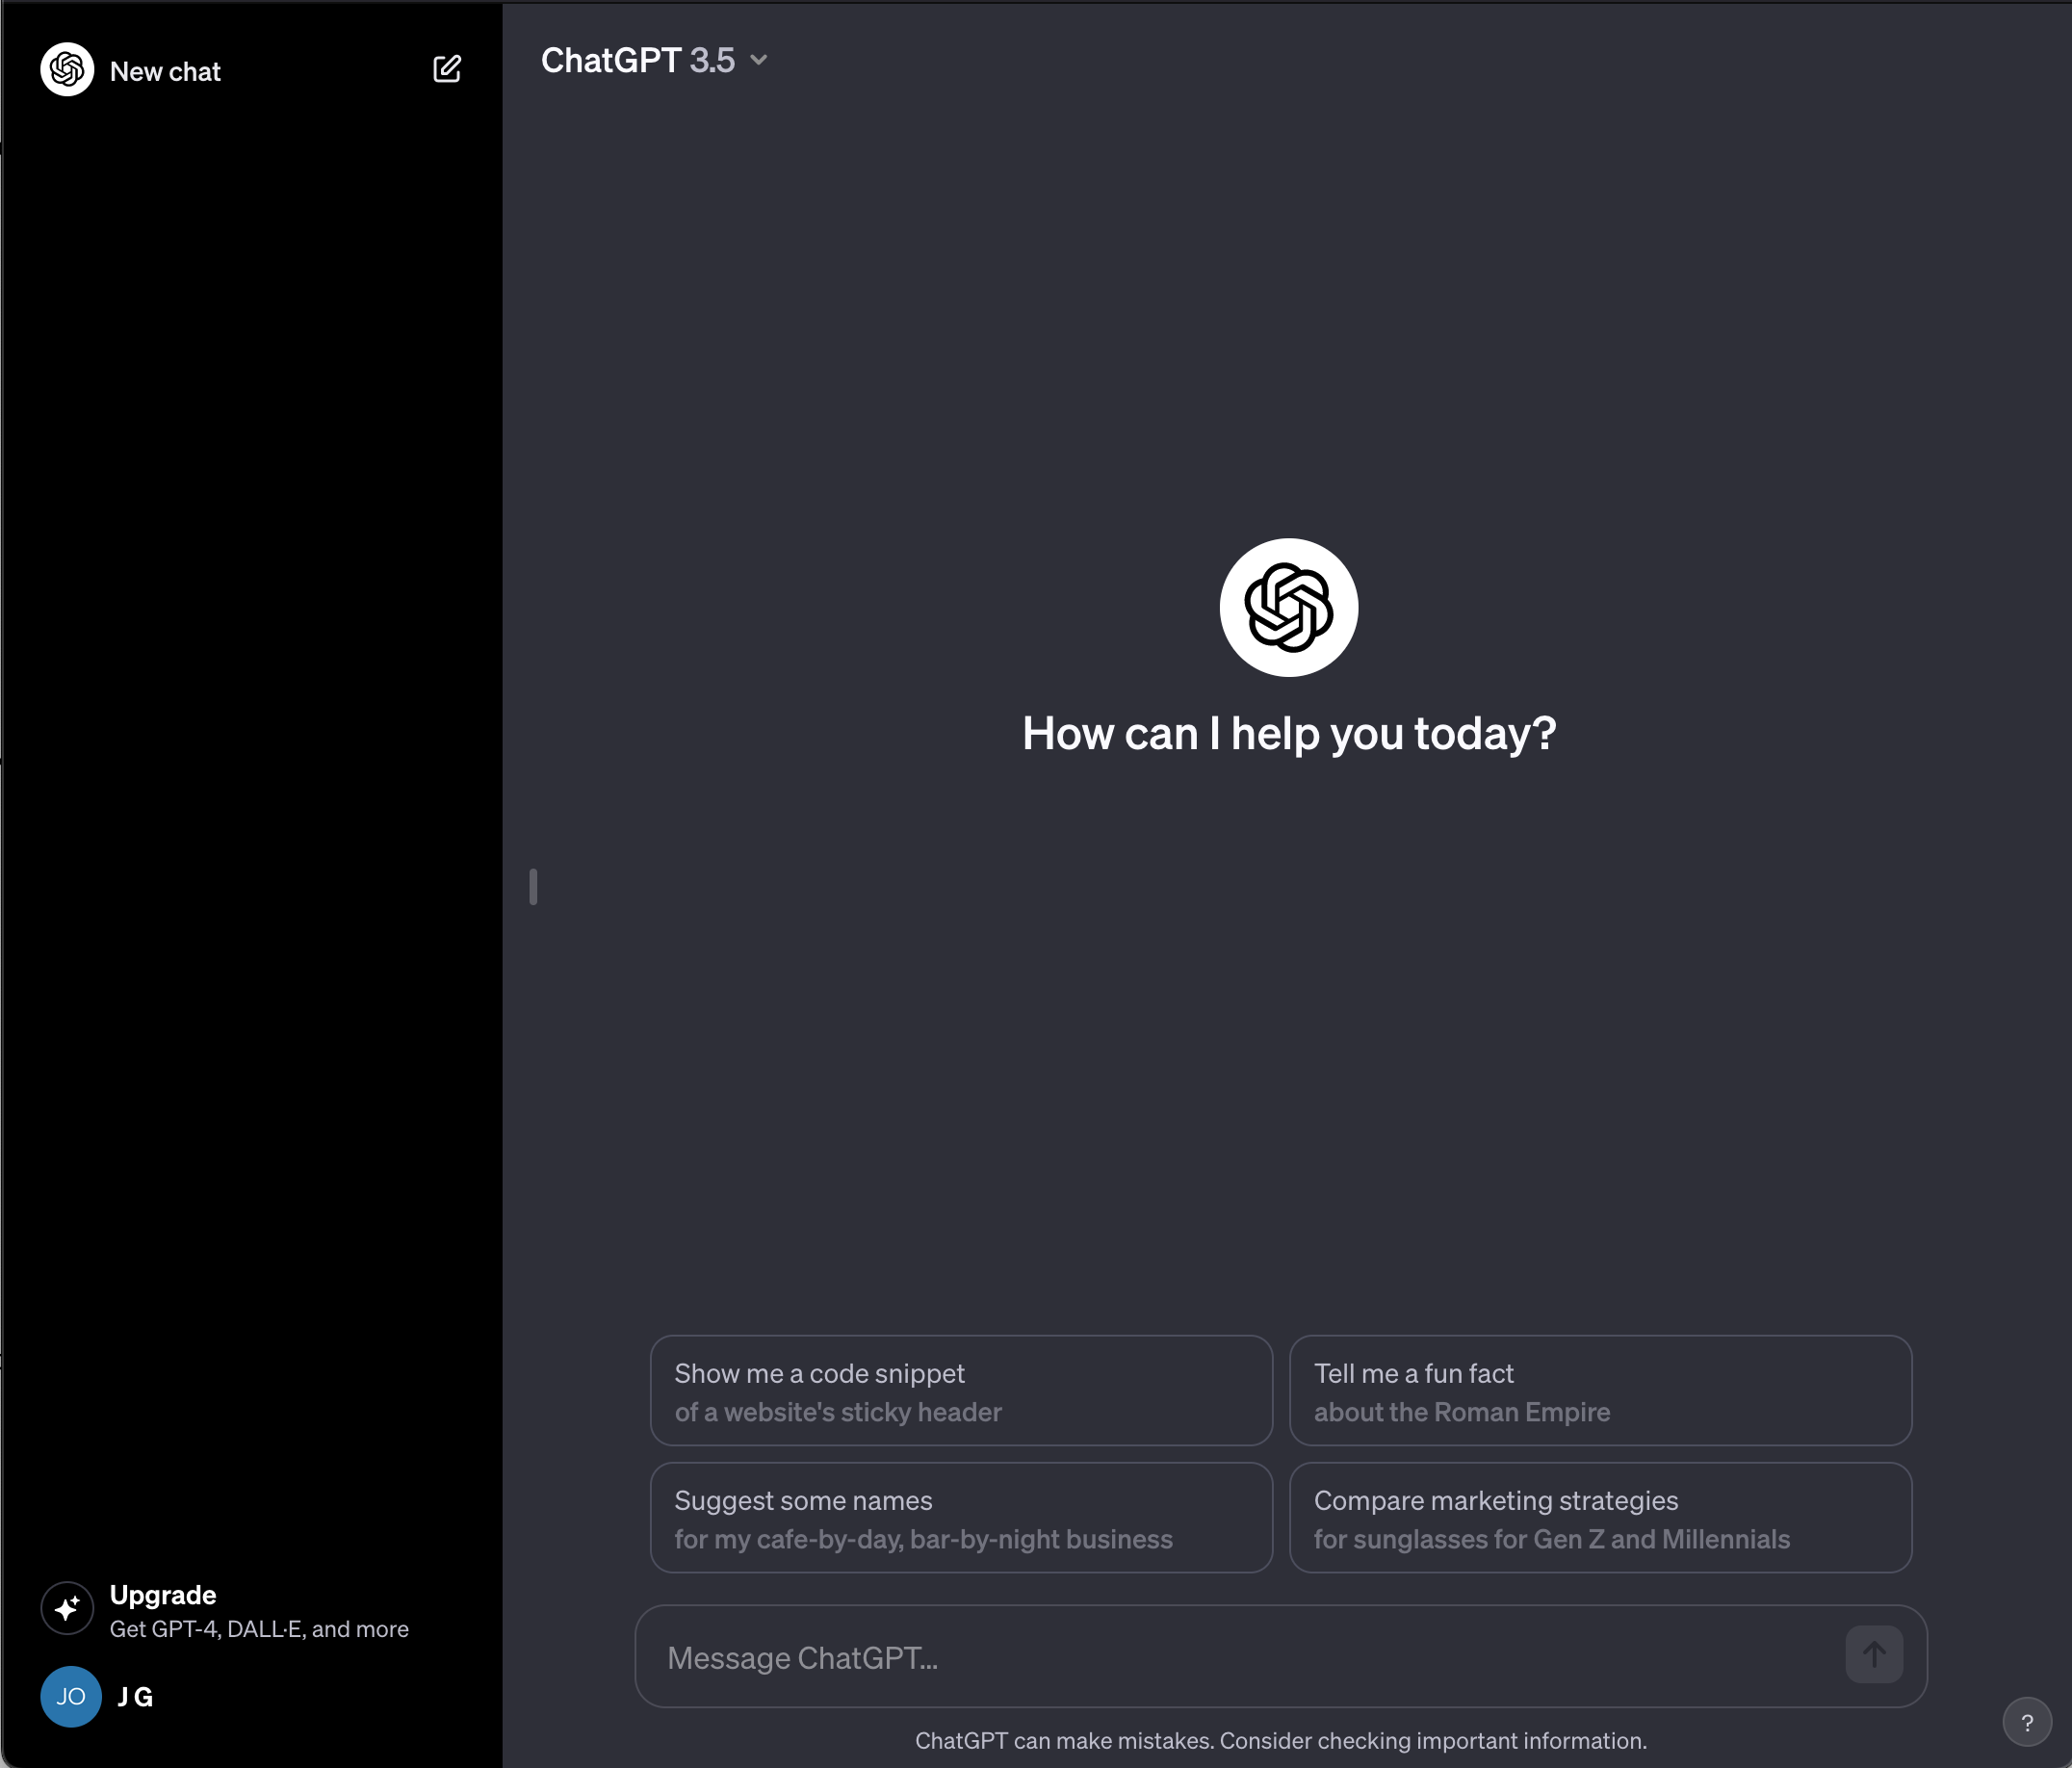
Follow the steps below to test your OpenAI ChatGPT setup:

  1. Continuing from the steps outlined above...
  2. Here are a few key details about the ChatGPT interface to get us started:


  3. Here is an example of writing a prompt, which is a question or statement that you enter for ChatGPT to evaluate and respond to based on its interpretation. In the following example, I'll type a prompt in the prompt space in the ChatGPT interface, like this:


  4. In the above example, I typed "How do I print the sentence 'Hello, my name is John.' to the screen in Python?".

    print("Hello, my name is John.")
  5. After you have entered the code and clicked the Run Button it should look like this:


  6. Notice that the code we wrote is an instruction for Python to print the sentence inside of the quote marks " ". And, when we click the Run Button, the program runs and the output of the print comment appears below our code.
  7. Next, click the Text Cell Button. A new text cell should appear below the existing code cell and look like this:


  8. Inside of that new text cell, type "Author: " and your name, and "Date: " and the date you created your notebook. It should look like this (with your name and date):


  9. Next, click the up-arrow on right-side of the Text Cell:


  10. The text cell moves up above the code cell we created earlier and should look like this:


  11. Next, click the Runtime menu option and click the Run All option. This will confirm that your notebook is working correctly. It should look like this:


  12. Lastly, you can use the Share Button to share your notebook with others. This works the same as sharing any other Google document, you can set it to share only with people you specify (using their email address) or set it to create a shareable link that you can give to anyone (without their email address). Once shared, the notebook becomes available for those people to see and run.
  13. For now, this walkthrough introduced the basic functionality of Jupyter Notebooks in Google CoLaboratory. We will work with this a great deal more as we proceed.


«  Previous : Computer Concepts
Next : Basic Programming Concepts  »


© 2023 John Gordon
Cascade Street Publishing, LLC